Showing posts with label Sydney Crabaugh. Show all posts

Monday, June 17, 2024

FO: Dalloway Blouse

I was very remiss in posting to the blog when I posted this YouTube review. Whoops! I posted this video already, so if you'd prefer I tell you about this project that way, you can check it out below :)
This was started as a quick project. After finishing my Rose Street Cardigan, I was trying to decide what the next project would be. I like to always have a sweater on the needles, so I was thinking of picking up my Audrey in Unst or another traditional "sweater" when I saw the Dalloway in my queue.
This is the Dalloway by Sydney Cabaugh of Squid's School of Vintage Knitting. It's a 1920s-30s "Jiffy" pattern that is designed to work up quickly. Her original sample was done in wool, but she specifically mentions that you can use plant fibers for summer and give things you should consider for that. I bought this Silk City Fibers Bambu 7 yarn last summer wanting to try knitting a rayon top, so when this pattern was released I ear-marked this yarn to make it up. This is the persimmon colorway.
The shape of this sweater is very simple - it's basically a true T shirt. The pattern has you cast on for your bust and then knit straight until the underarm, but I didn't want to add a waist tie and I like a more defined waist, so I added some decreases (which I regret now, but I'll show that later). The whole shirt is knit in a drop stitch, so it's very easy to memorize... less easy to fix when you inevitably drop stitches because you used the slickest yarn ever. So there were holes in the lower part of the body, which is unfortunate. I thought, "oh, I'll just go back and fix it when I weave in the ends," but because this stitch is open all over, you can see my hole repairs and there is really not much you can do about that. Oh well.
The other issue was with my changes on the waist decreases. It was very difficult to see if my gauge was accurate when I made the swatch simply because this yarn is so heavy AND this stitch so open AND this is a plant fiber, which grows over time so I knew it was going to to be different as a shirt than as a swatch. My shirt came out longer than I planned, I added too much for the hips, and now it sags at the sides. Oh well.
The neckline was an interesting challenge. I bound off once, thinking I was pulling very large bind off stitches, only to have it not go over my head when I was done. I had to pull out the entire bind off and it took 1 and a half more tries to get the bind off stitches big enough. This means that I had to add yarn into the front neckline to finish binding off since I had already cut the yarn the 2nd time around, so I had to weave in ends directly in the center front of my bind off edge, which is really not great in a rayon yarn. I treat this very gingerly anyway, but now I have to check that stupid end to make sure I don't have threads sticking out the front of my shirt. This yarn and open design is also an interesting combination for snags. The first time I wore it, I tried to make sure I didn't use a purse that had a lot of hardware that would snag, but I still snagged it on the zipper within seconds of getting out of my car, lol. 
So that's my Dalloway :) This was an interesting project that was a bit out of my comfort zone, both to knit and to wear. I will say I don't know that I will get to wear it all that often just because I'm not the most careful with my clothing on the day to day, so I can't wear this to work, for example. I'm glad I made it though and now I have it when I do feel like it. I would be interested to see how it wear in wool though, so who knows - maybe I'll make one again in the future.

Summary:

Yarn: 725 yards Silk City Fibers Bambu 7 in Persimmon Colorway - $25.95

Pattern: Dalloway Blouse by Sydney Crabaugh - $6.50

Time: 5 weeks

Total Cost: $ 32.45

Wednesday, May 8, 2024

WIP Wednesday: Splitting My Dalloway

I've been plugging away on my Dalloway Blouse as my go-to project and it's finally looking like more than just a mesh bag lol. Last night I officially sectioned off for the sleeves and now I'm working on the top yoke/sleeve area, so I'm only just now realizing this means I'm almost finished with this project.
I did add shaping to the body of this one just because I didn't want to have to rely on the waist tie (they never sit right on me). It's certainly not perfect - this yarn (bamboo rayon) is SO slippery and SO splitty that I've dropped some stitches and had to try and salvage it a few times toward the bottom. I'm used to it now, but it doesn't change the visible mistakes. I also have an accidental double yarn over hole at one side that I need to go back and seam up. I'm curious to see how blocking evens this fabric out though.
And this is a more accurate idea of how the stitch pattern looks. This yarn is very drapey and will pull down when it is worn from the weight of it all - another aspect that makes me very curious about blocking.

In truth - I didn't work on any knitting at all for almost an entire week because I was busy having too much fun :) Including holding a baby alligator, going to Sea World, seeing Alvvays in concert. We packed a lot in during my friend's visit. No regrets! My knitting was waiting for me when he had to go back home, and isn't that just a big perk of knitting as a hobby? 

Do you have anything exciting going on this week? Tell me about it!

Monday, May 6, 2024

FO: Rose Street Cardigan (Plus Video Review!)

 
My latest sweater is finished and I am so thrilled! I've been wanting to make this since the pattern was released last April and now I finally have one of my very own :) This is the Rose Street Cardigan by Syndey Crabaugh of Squid's School of Vintage Knitting. I adore her patterns and this one struck me immediately. 
The body of the sweater is very simple - just basic stockinette with a ribbed yoke on the front and back. This made the body incredibly fast to knit. I made mine up in Knit Picks Stroll in the Duchess Heather colorway that I grabbed on sale over 2 orders (I bought 6 before seeing this pattern, then bought 2 more when I knew I wanted to use it on this pattern) and it worked just beautifully. This is one of my absolute favorite yarns, so I always love using it.
Here's my Ginger Rogers pose to show off the best part of this sweater - the fantastic sleeves! They are long bishop sleeves with a simple lace detail and I adore them. I knitted my sleeves flat through the whole cuff before I realized it was written to be knitted in the round. Oops. I was not going to redo the cuff, so I just knit them both flat and it worked out fine. 
I'm also thrilled that Syndey's newest pattern (The Four Seasons Dress) includes a written description for setting in the sleeves. This was my only hang up with making this because I can never remember how to do the puff and I had a hard time finding her video on Patreon. The written instructions worked fantastic (and if you are a Patreon member of hers, you automatically get access to both of these patterns, so it worked out great). 
As per usual, I backed my button bands, and this time I filmed a tutorial on how I do this - so if you are interested, check My YouTube Channel next week for that. I used my usual rayon Petersham ribbon and some pretty vintage buttons. I did have a little snafoo - I miscounted my button holes, so I had to add 1 more button that did not match. I got as close as possible from my stash and put it at the bottom, so I think it blends in well enough that no one will notice but me.
And that's my Rose Street Cardigan! I love how it turned out. It is comfy and cute. I just wish it was colder so I could wear it more often before the end of the year. I have also made a YouTube video review about this project if you prefer to hear the deets in that way :)

Summary:

Yarn: 7.24 skeins of Knit Picks Stroll in Duchess Heather - $29.26

Pattern: Rose Street Cardigan by Syndey Crabaugh - $6.50

Notions: Rayon Petersham Ribbon - $6.50, 8 buttons - $ 0.45

Time: 2 months

Total Cost: $ 42.71

Thursday, April 18, 2024

WIP Wednesday: Almost Finished Rose Street and Video Planning

The past few weeks has seen a lot of knitting on my Rose Street Cardigan, and it is almost finished :) I managed to finish knitting the sleeves, which I knit flat kind of on accident. I completely knit the ribbing on the first sleeve before I realized the sleeves were meant to be knit in the round. Whoops. Not a big deal though at all. I currently have the sweater and sleeves blocking and then I will be sewing it all together and I will have a finished cardigan! Just in time for it to be 90 degrees on the regular, lol. 

While my Rose Street is drying, I decided to start my next project - the Dalloway Blouse, which is also by Sydney Crabaugh. I've had this in mind to make for a while, and I realized how hot it is now so I decided to just go ahead and make it up. This is a vintage Jiffy pattern from the 1920s, so I'm hoping it will go by very quickly. I'm making it up in Silk City Fibers Bambu 7 that I grabbed from Lion Brand on sale last summer. This is the Persimmon colorway and I have 2100 yards of it, so you will probably see it in something else later as well. I know this swatch photo isn't great, but I got gauge and I'm excited to see how this knits up.

I've also been working on a bit of sewing for my next YouTube video where I'm chopping up a knit dress to make a Vera Top, so stay tuned for that if you are interested in the process. I have filmed the beginning of the next several videos, but they will take a bit longer to have a complete project. So I'm trying to figure out what kind of videos I can put up while I work on those. Any subjects you want me to talk about? I'm open to suggestions!

So that's what's going on 'round here lately. Anything new and exciting going on in your making? Let me know!

Friday, August 11, 2023

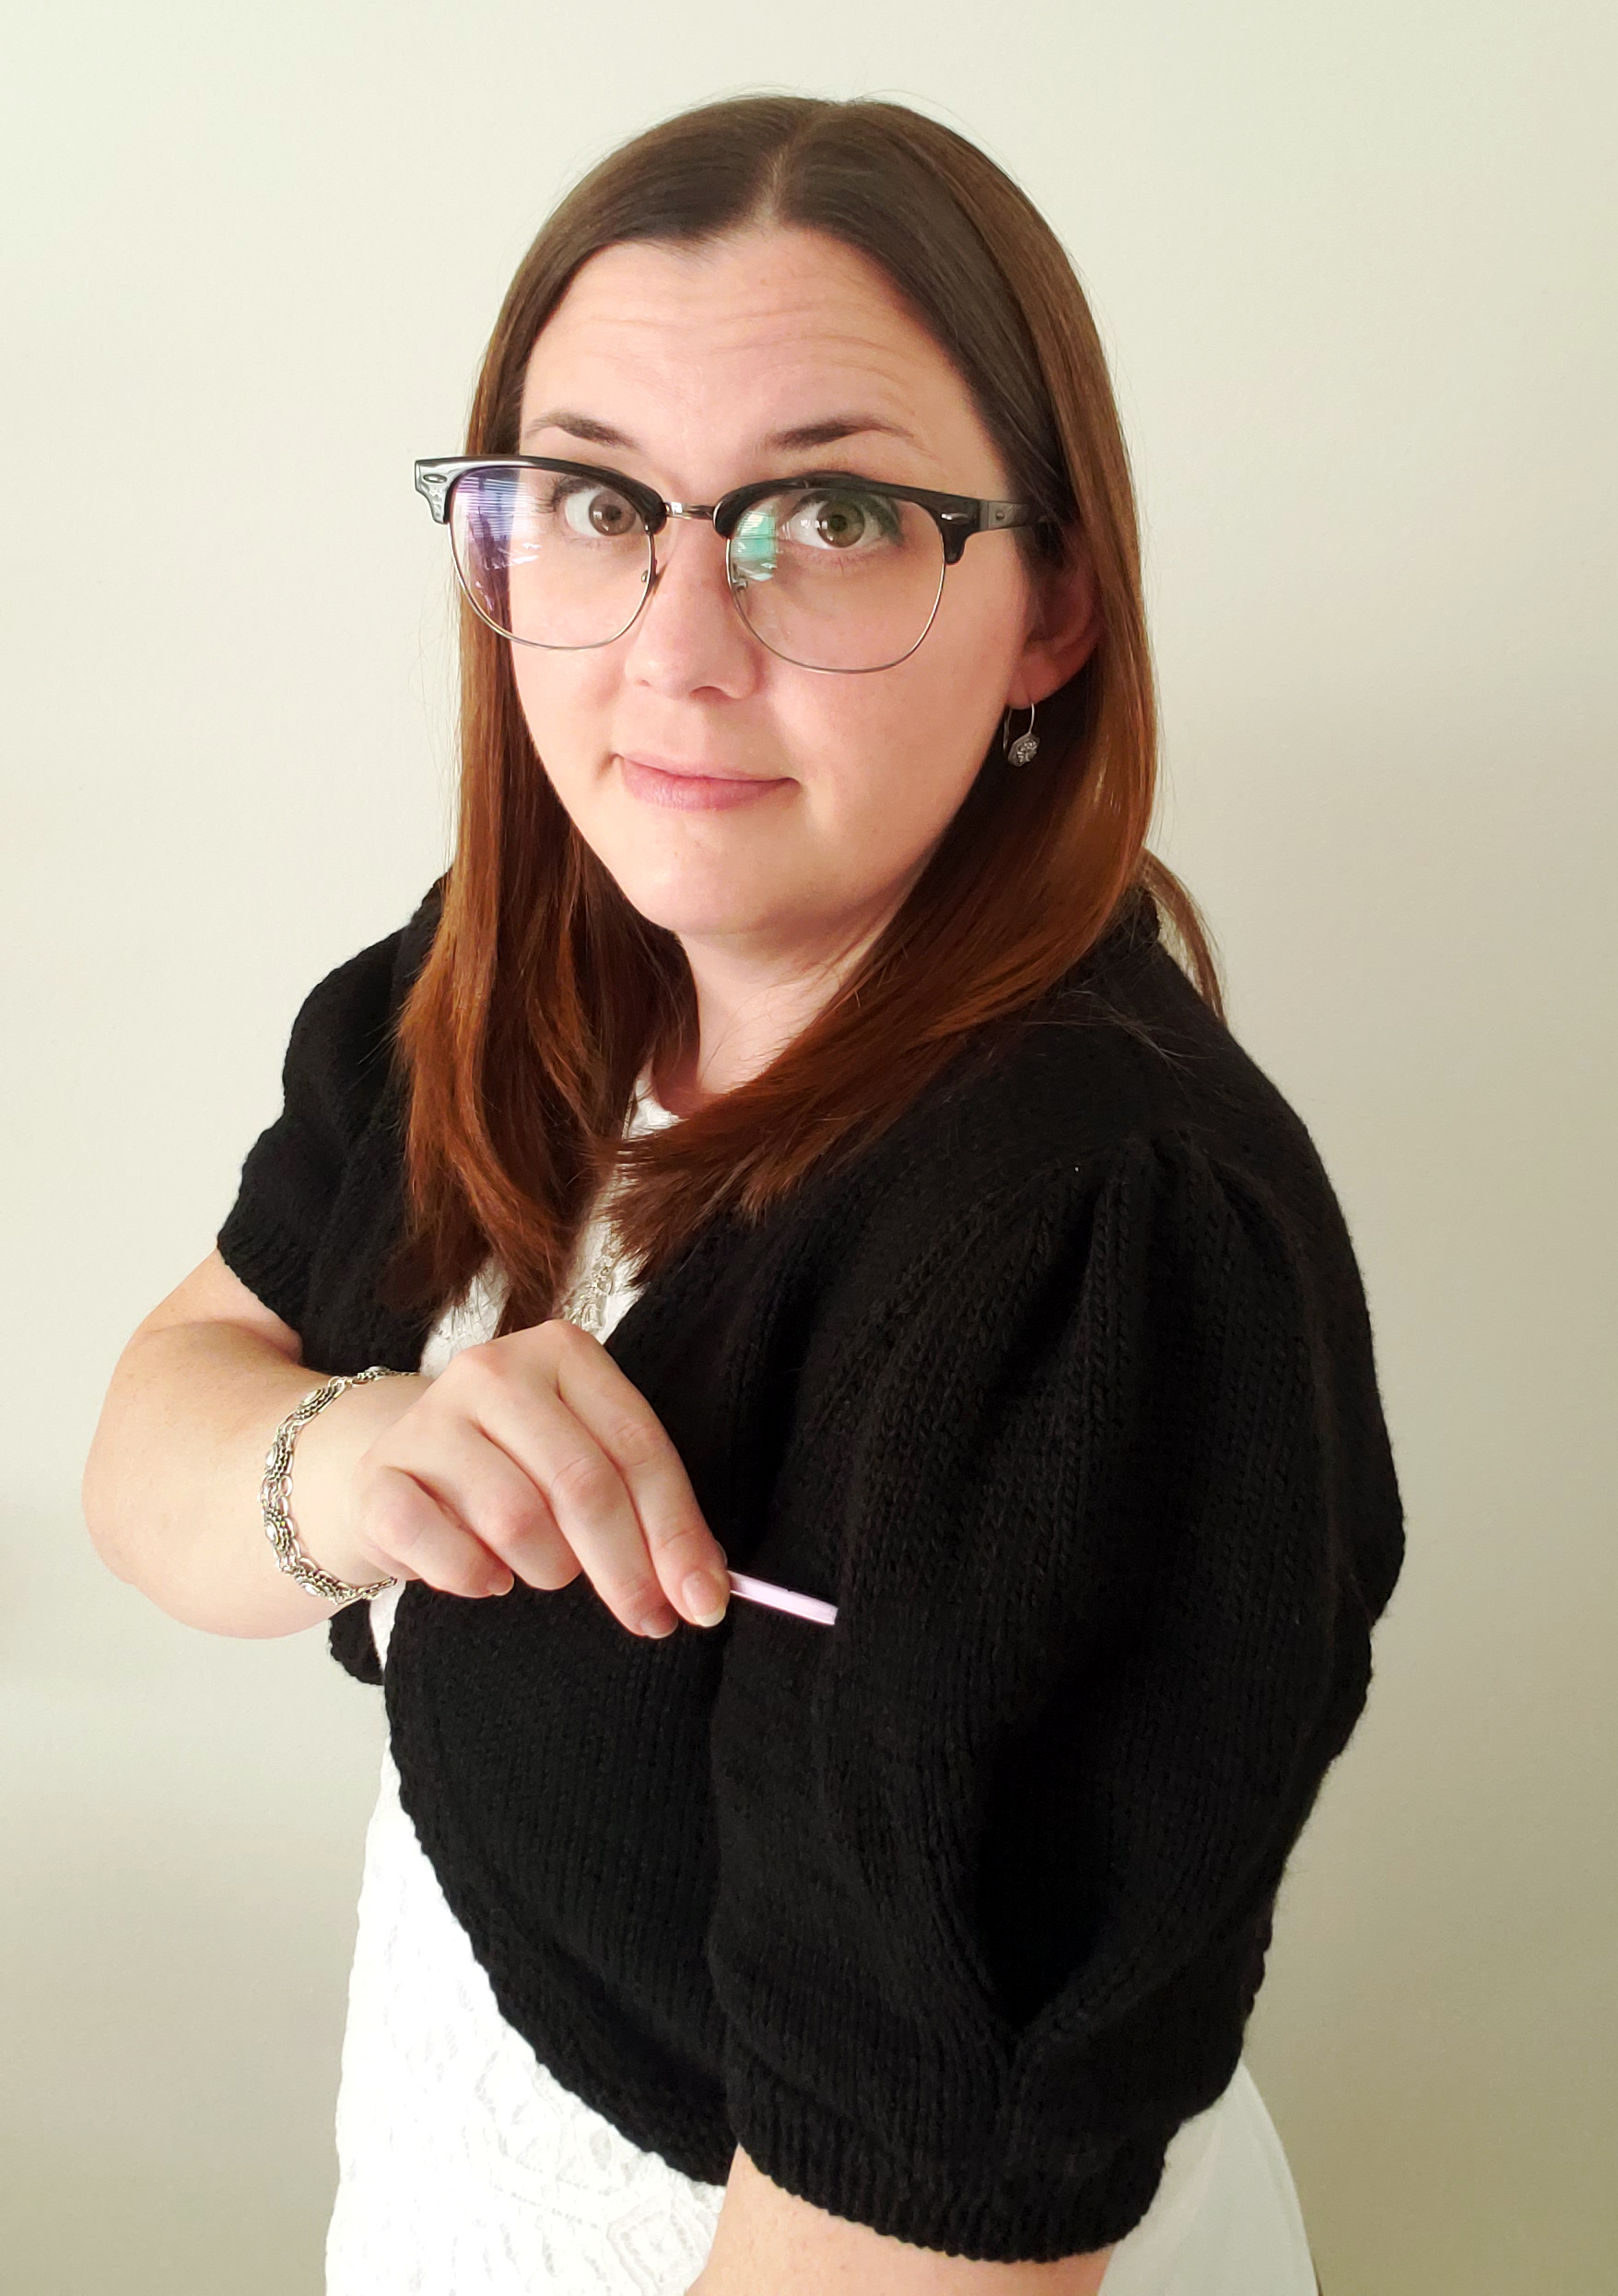
FO: Florist Bolero


I joined Squid's School of Vintage Knitting on Patreon last November (I believe), and with that I got access to all the patterns she had previously released. All the patterns are vintage ones that Sydney has converted into her custom size style and extended the sizing so they are fully size inclusive - pretty cool, actually. This does mean that her fitted garment patterns take a bit more prep work than I'm used to, but as long as you know how to take your measurements you'll be fine. She gives step by step instructions on what to do with those numbers throughout the pattern and it makes the finished piece sized just for you. 

When I saw the Florist Bolero pattern, I immediately thought of it as a stash buster. Boleros are short, so they don't require as much yarn as a full sweater. When looking through my stash, I had 3 skeins of I Love This Yarn in black that I bought from Hobby Lobby when they were discontinuing it back in 2014. Crazy. This is 93% wool and 7% nylon, and honestly I wish that they still made this yarn because there is no other easily accessible wool yarn for me without ordering online. Ah, well. Anyway, the one drawback of Squid School patterns is that they don't give you an exact amount of yarn you will need for each size. She gives a few possible yardages by bust measurement, but the pattern states that you will probably not be at that yardage given the custom nature of the pattern. I had 657 yards of this yarn, so I thought I would have enough for a bolero, plus I figured that black was the most practical color to make this sweater in since I didn't have a specific outfit in mind to wear it with. So, I cast on.
The construction of this bolero is honestly a bit boring, but then I feel that way about most things that are plain stockinette. I love to wear them, but they aren't as engaging and fun to make as lace for me. Also this starts at the bottom edge, which means you have this very long strip for a while. It was very fun when people would ask what I was knitting, and I could reply, "A sweater. Can't you tell?" and then hold up my weird shaped strip of knitting. I'm easily entertained. So you knit the waist area, then divide for the armholes, then you work the back, then each side, and end up with a small vest. Then the garter stitch border is picked up along the edge (mine took 315 stitches). Then you work on the sleeves as separate pieces. This is where things got squirrely. 
I weighed my remaining skein of yarn before starting the sleeves so I could be sure to evenly divide it between the two, which is good because I ran out of yarn about 65% through. Given that this yarn is discontinued and the entire point of this project was to stash bust, I really didn't want to go through the skein hunting process online to match this. You just never know about the color matching, especially when it's a black yarn. SO I hunted through my stash and luckily had something that would do the job. I had a random skein of Naturally Caron Country yarn in black that I got at a thrift store in 2019. This yarn is only 25% wool and 75% acrylic, so it's a bit shiny in comparison to the other, but the color is very close so I just went for it. Done is better than perfect, right? Honestly I think the difference shows up better on camera than it does in real life and I doubt anyone is going to notice if I don't point it out to them. The differences are mainly the shine, but also the wool yarn is thicker despite these both being classified as Aran weight. The wool's gauge is just more dense, so you can see a bit of light behind the blended yarn. With my arm inside, I doubt even I will be able to see this difference. The area I'm pointing to is where the yarn changes.
I chose the tulip sleeve with the puffed cap for mine, so I had to do something I've only ever done once before - seam in the sleeves. It's so easy to find top down seamless construction patterns that it's just worked out that I only have ever seamed my first sweater, and it was a raglan. I've made enough toys that used mattress stitch to at least know what I was doing, and Sydney has a video about setting in puffed sleeves that was very helpful, if hard to find on Patreon (if you need it, you have to type in "setting sleeve" or else it won't come up, fyi). With the video, I was able to get it all seamed up in about an hour. Every vintage sweater pattern I've seen has been seamed, so I'm happy to get a bit more practice with the technique since I want to get into actual vintage patterns this year. 
I do love the lace edging on this, but sadly it doesn't really show up in my finished piece unless I pull it out like this. I imagine this is because I didn't block it out enough, so maybe next time I wash it I will pull that area open a bit more.
This sweater sat for a bit when it was finished mainly because I didn't love the sleeve size. It felt like the arms bands were a bit too loose for the puffed nature of the sleeve to show up. Perfect opportunity to use a technique I've heard other people use to tighten up knits! I had black elastic thread on hand from a very old project, so I added 2 rows of the thread to the inside of the ribbing. I kind of winged it, just making essentially duplicate stitch with the elastic thread and making sure it didn't show on the front side. This pulled it in just enough, but it's not too tight. 

All in all, I'm very happy with how this sweater turned out. It was a quick project that used up some very old yarn from my stash, and it helped me get acquainted with how Squid's School patterns work. Now I can feel more confident jumping into some of her other designs and at least have the general idea of what I'll be doing. Given the constant problems I had with my other recently finished sweater, this was a refreshing change :) And now I have a useful wardrobe staple ... for the winter time, lol. It's way too hot here in Florida for even short sleeves worsted weight wool.

Summary:

  • Yarn: 3 skeins I Love This Yarn in Black - $11.47, 0.43 Skeins Naturally Caron Country in Black - $0.25
  • Pattern: Florist Bolero from Squid's School of Vintage Knitting - $6
  • Time: 2 months
  • Total Cost: $17.71