It has been an age since I posted any recipes on the blog, so when others showed interest in this cake on my Instagram I thought it would be the perfect way to lead back into some Fantabulous Food posts :) This recipe was brought to my attention through @stewardesstiffany on Instagram because she is always saying it is the best cake ever and I just had to check for myself, so she was kidn enough to send me the recipe. Thanks, Tiffany! Online friends are the best. This cake is definitely a winner - it sounded strange to me at first. Banana Cake? Really? Is it like banana bread? But no, it is not except that it is also delicious and contains bananas. The original recipe comes from a 1950s Betty Crocker Cookbook, so the directions are old style. This one is not to be missed though, so I wanted to post it here for any other banana lovers. Anyway, let's get making a cake!
Ingredients:
2 1/2 cups sifted cake flour
1 2/3 cups sugar
1 1/4 tsp baking powder
1 1/4 tsp baking soda
1 tsp salt
2/3 cup shortening
2/3 cup buttermilk
1 1/4 cups mashed ripe bananas
2 large eggs
2/3 cup chopped nuts (optional)
1 1/2 - 2 tsp cinnamon
1. Preheat oven to 350F. Grease and flour two 9" round cake pans. Sift together all dry ingredients (flour, sugar, baking soda, baking powder, salt, and cinnamon) and whisk to combine.
2. Mash your bananas - I used 4 medium bananas, but depending on the size of your bananas it may take more or less. I like to put them in a bowl and just go to town with a fork until there are no large chunks.
3. Combine shortening and buttermilk in a small bowl and combine slightly - it's kind of impossible to mix these thoroughly.
4. Add all of the bananas and half of the liquid mixture. Mix on medium high for 30 seconds.
5. Add eggs and the rest of the liquid mixture. Mix for 2 minutes on medium high, scraping the bowl frequently.
You want your mixture to be nice and fluffy and smooth like regular cake batter.
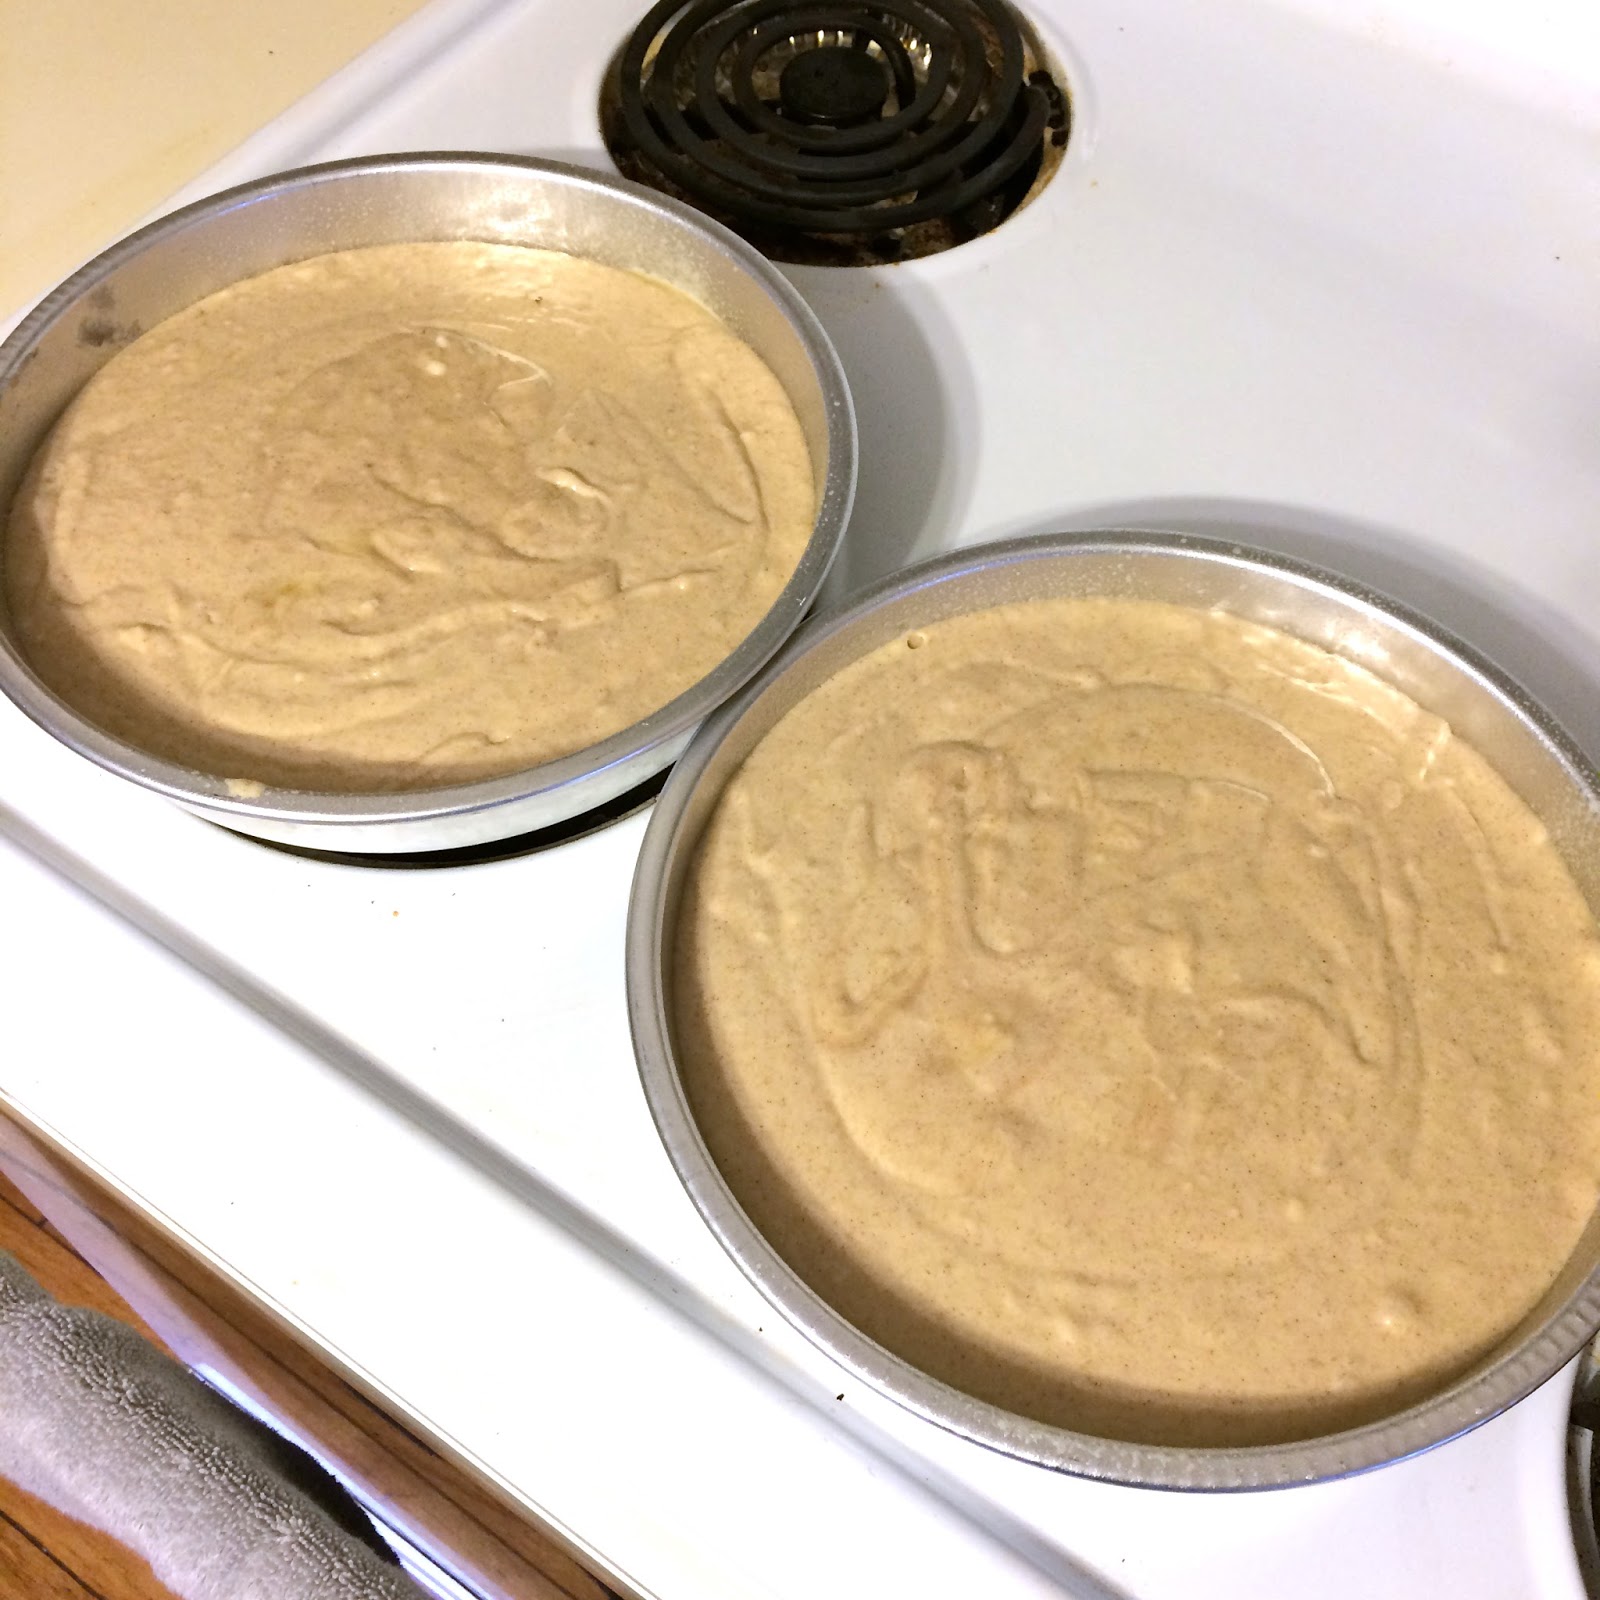
6. Pour equal amounts of batter into 2 prepared cake pans and bake at 350F for 30 - 35 minutes or until cake tester comes out clean.
7. Cool on baking rack in pan completely, running a knife around the rim to release while they are still warm.
8. Frost with American Buttercream frosting - I didn't grab that recipe but there are plenty available online.
And it's ready for your to slice and enjoy :) I like to keep the cake in the fridge just because I live in Florida and buttercream can be a bit slippery in the heat, but it's not absolutely necessary. I made this for Easter and it was a big hit.
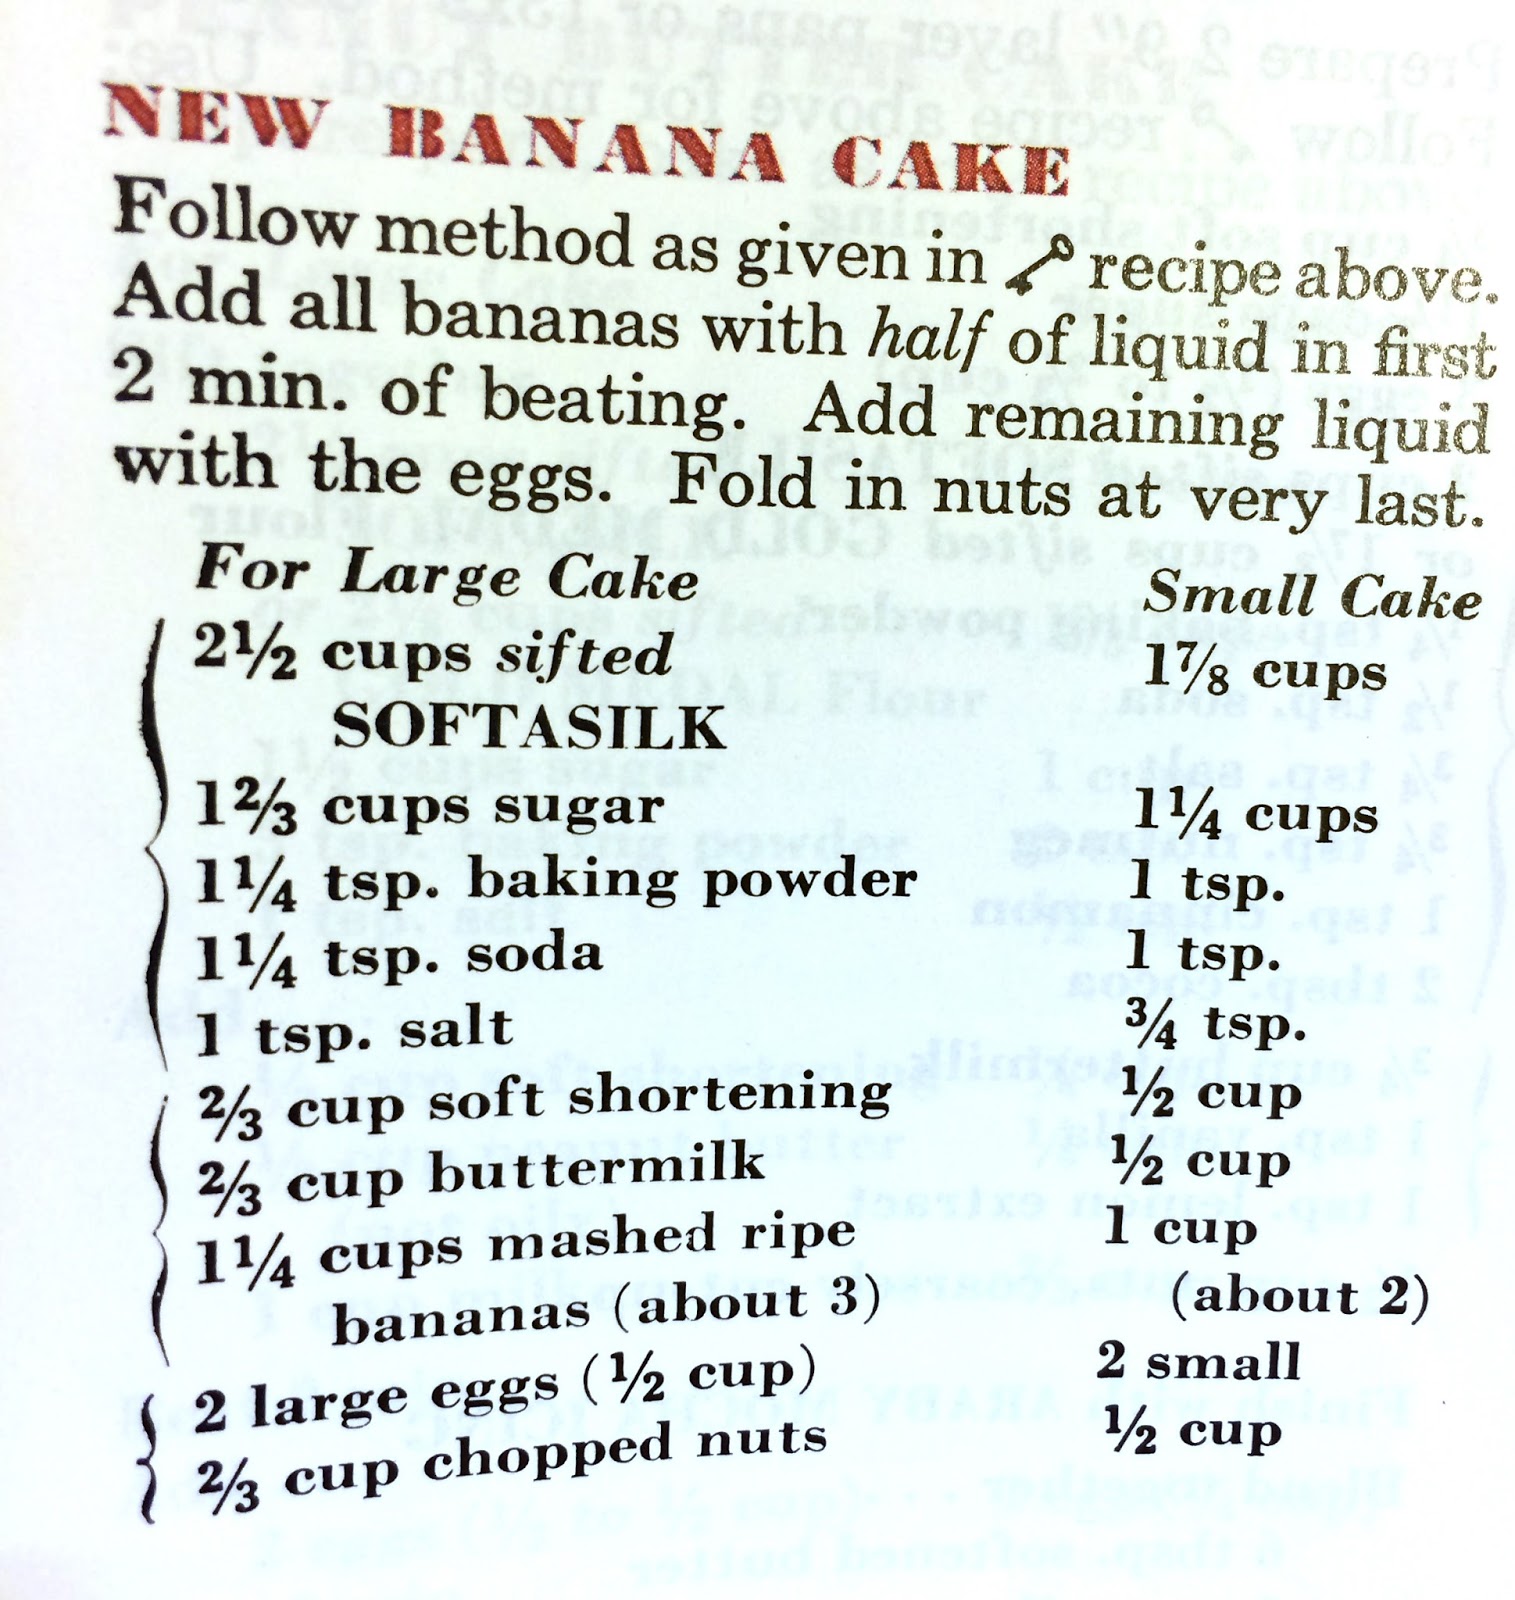
This is what the original recipe looks like, lol. I'm so glad I was alerted to this cake. It really is so yummy and I never thought I would be making banana cake. I hope you enjoy, and let me know if you make this up! Let's keep the banana cake awareness going!
So, I have been so crazy this last few months that I don't think I even mentioned that I won another party kit from HouseParty.com :) This time, my motives were very unselfish. I saw that they were offering an Adventure Time: Fiona and Cake party, I knew my husband would be thrilled if I could get it. Adventure Time is his favorite show and we watch it together every week. I know, we're nerds; but it's really funny :)
So, in honor of my party, I decided to make a few new crocheted items :) I mean, why not, right? So, I've had this first one finished since January 29th, but I wanted to unveil him with the party. This is my very own Jake the Dog!
If you (or any young people you know) watch Adventure Time, you will recognize this guy as the magical dog (one of the main characters) and the best friend of Finn the Human.
I love how his eyes came out :) It really does look just like him (see him here). I used this pattern by Teresa Alvarez on which was Free on Ravelry :) Can't beat that!
Here is the back view too. He's actually pretty big - much larger than my other animals I've made which is nice. It switches things up a bit.
Here is my husband (dressed as Finn in his hat I made him) with his best bud, Jake :)
And my dad decided to demonstrate the other uses for Jake. He's quite cushy :)
This was my kit I received from HouseParty.com. It included the latest Adventure Time DVD (with Finn Hat), the special new episode on DVD (along with a few others on it too), temporary tattoos, Stop Bullying bracelets, comic books, and VIP passes with neck holders.
My little brother really enjoyed the party as well :) He got to be BMO - minus the Finn hat. His hat actually came in my kit, but since I already made Justin one, I let Briggs keep that one. He even wore it to school.
This is the other item I made - a Fiona hat :) I made it using the Adventure Time Fiona Hat pattern by Deedra Hickman - another Free pattern on Ravelry. Score! This was a very easy project and I made it in a couple of hours while watching a movie.This was the finishing touch on my outfit.
See?! We were Finn and Jake and Fiona and Cake (Cake is the cat on my balloon - which was included in my party pack).
The whole purpose of this party was to have everyone see the new Fiona and Cake episode - a full week before anyone else :) Woo hoo! How elitist are we? This was the tv all decked out with Cake balloons. Honestly, the episode was a bit of a let down, but it was ok. Most of our fun was in the extras included with the party pack.
We wanted Gordo to be included in the fun, so Justin tied a balloon to his harness. We thought he would just be a walking balloon weight, but oh no. He decided he must attack this balloon and it was so funny!
Overall, our favorite part of the party was the 'press wall' where we could take our picture. It was just a digital download and I printed out each page and taped them to the wall. Here are a few of our shots from the wall:
Here's Briggs rockin' it as BMO.
Justin and I had to prove how nerdy we really are...
My sister decided she would make a doofy face in all the photos.
And we had to include the Gordo :)
This one I just had to post because Marisa's face is ridiculous :)
Briggs finally put the hat on Marisa's head and we made her hold Jake. As you can tell, she was not happy about it. As soon as I took this photo, I knew who it reminded me of.
You have to admit, she has a crazy resemblance to Grumpy Cat :)
We had so much fun with this House Party! Even with our crazy schedules (the party was hosted the Saturday just after we closed on our house), it was totally worth it. As always, this House Party was a big hit and I'm so glad I was chosen to participate!
*I received my party pack for free from HouseParty.com, but all opinions expressed are 100% my own :)
I couldn't wait to watch my newest Craftsy class and I was home by myself on Saturday night. At first I thought there would be no way I could watch enough of the class to accomplish anything this weekend, but it took about 1 hour to watch from the beginning through the first cake and I knew I would be able to do it. I went out immediately and bought some chocolate :)
My sister came home with my nephew yesterday and my mom and I wanted to have a nice family dinner. We had planned to make Suprêmes de Volaille à Blanc by Julia Child (seriously the most delicious chicken breasts you will ever have) and I knew that this cake would go great with our fancy French meal.
And here is my very first 'project' from the class - The Queen of Sheba Chocolate Torte :) Doesn't it look delicious? Because it was. I'm really surprised at how many little tips I've learned so far in the class and I've only watch 5 episodes! For example - I had no idea how much temperature affects the way chocolate performs. I mean, I had some idea just from cooking with chocolate before and of course eating it :) But allowing chocolate to cool at room temp verses refrigerating it will produce a completely different outcome and taste. Crazy huh? There are all kinds of tips about handling the chocolate, melting the chocolate, and just generally getting it to do what you want. I've baked with chocolate before and I enjoy a challenging recipe so I'm certainly no beginner, but the class still has taught me so much. And just look at the result!
Here is a picture that's more focused on the marbling pattern. I love that I was able to make such a smooth and pretty cake at home. I won't lie - it did take some patience and a lot of time, but the result was well worth it. Everyone commented on how beautiful it looked and how good it tasted. If you are thinking about taking this class, just know that you may have to go out and buy some supplies. Since I bake a lot, I already had most of the things I would need, but I did go out to Marshall's and buy an angled icing spreader and an 8" round pan with a removable bottom (I had a spring form pan already but it was way too big - like 10" or something like that). Also, I was able to buy my chocolate at Aldi of all places, so it was really inexpensive and still tasted great. I used the Moser Roth 70% Cacao chocolate bars and they were $1.97 each (compared to something like Godiva or Lindt at Target that were around $3 each).
Just after doing the marbling, just before adding almonds to the sides.
So, what's the verdict on this class? I may have only done one cake, but I feel like I've already learned a ton and I can't wait to make the next one! Alice Medrich is a great teacher and shares so many useful tips that really make this process very simple. Also my husband (who requested that I take this class) was very pleased with my cake, so everyone's happy! I would definitely recommend taking this class to anyone interested in baking and working with chocolate. Chocolate has always been a bit of a mystery to me and it's nice to get advice from someone who has worked in a successful shop for 30 years plus written many award winning cookbooks AND even cooked with Julia Child on her show back in the day :) I can't stress enough how happy I am with this class. It definitely is out of my usual Craftsy realm of knitting and crocheting and sewing, but I'm so glad I chose to take it. It has taught me skills that I will be able to use for the rest of my life and bring enjoyment to everyone who gets to try one :) And I've only just begun!
Go here to get more information about the Decadent Chocolate Cakes class on Craftsy. You can see cakes that others have made and even watch clips from some of the lessons to get a better idea of how the class works. And maybe you can pick up this class for yourself while you're there :)
Well, the hubby and I were itching for something sweet, and I decided to make my first ever Pineapple Upside-Down Cake.
I have to say it came through with flying colors! Yes, it was from a box mix, I cannot lie; but box mix or no, it was delicious just the same! And it was the kind of cake mix with the pudding mix added, so it was super creamy. Here was the recipe I used: Easy Pineapple Upside-Down Cake. Gotta love that Betty Crocker. I haven't had a pineapple upside-down cake in years and it was just as wonderful as I remember :)
Try one out for yourself, I'm sure you won't regret it.






.JPG)


