Showing posts with label fantabulous food. Show all posts

Friday, April 6, 2018

Fantabulous Food: Banana Cake à la 1950s Betty Crocker Cookbook


It has been an age since I posted any recipes on the blog, so when others showed interest in this cake on my Instagram I thought it would be the perfect way to lead back into some Fantabulous Food posts :) This recipe was brought to my attention through @stewardesstiffany on Instagram because she is always saying it is the best cake ever and I just had to check for myself, so she was kidn enough to send me the recipe. Thanks, Tiffany! Online friends are the best. This cake is definitely a winner - it sounded strange to me at first. Banana Cake? Really? Is it like banana bread? But no, it is not except that it is also delicious and contains bananas. The original recipe comes from a 1950s Betty Crocker Cookbook, so the directions are old style. This one is not to be missed though, so I wanted to post it here for any other banana lovers. Anyway, let's get making a cake!
Ingredients:
2 1/2 cups sifted cake flour
1 2/3 cups sugar
1 1/4 tsp baking powder
1 1/4 tsp baking soda
1 tsp salt
2/3 cup shortening
2/3 cup buttermilk
1 1/4 cups mashed ripe bananas
2 large eggs
2/3 cup chopped nuts (optional)
1 1/2 - 2 tsp cinnamon
 1. Preheat oven to 350F. Grease and flour two 9" round cake pans. Sift together all dry ingredients (flour, sugar, baking soda, baking powder, salt, and cinnamon) and whisk to combine.
2. Mash your bananas - I used 4 medium bananas, but depending on the size of your bananas it may take more or less. I like to put them in a bowl and just go to town with a fork until there are no large chunks.
 3. Combine shortening and buttermilk in a small bowl and combine slightly - it's kind of impossible to mix these thoroughly.
4. Add all of the bananas and half of the liquid mixture. Mix on medium high for  30 seconds.
 5. Add eggs and the rest of the liquid mixture. Mix for 2 minutes on medium high, scraping the bowl frequently.
You want your mixture to be nice and fluffy and smooth like regular cake batter.
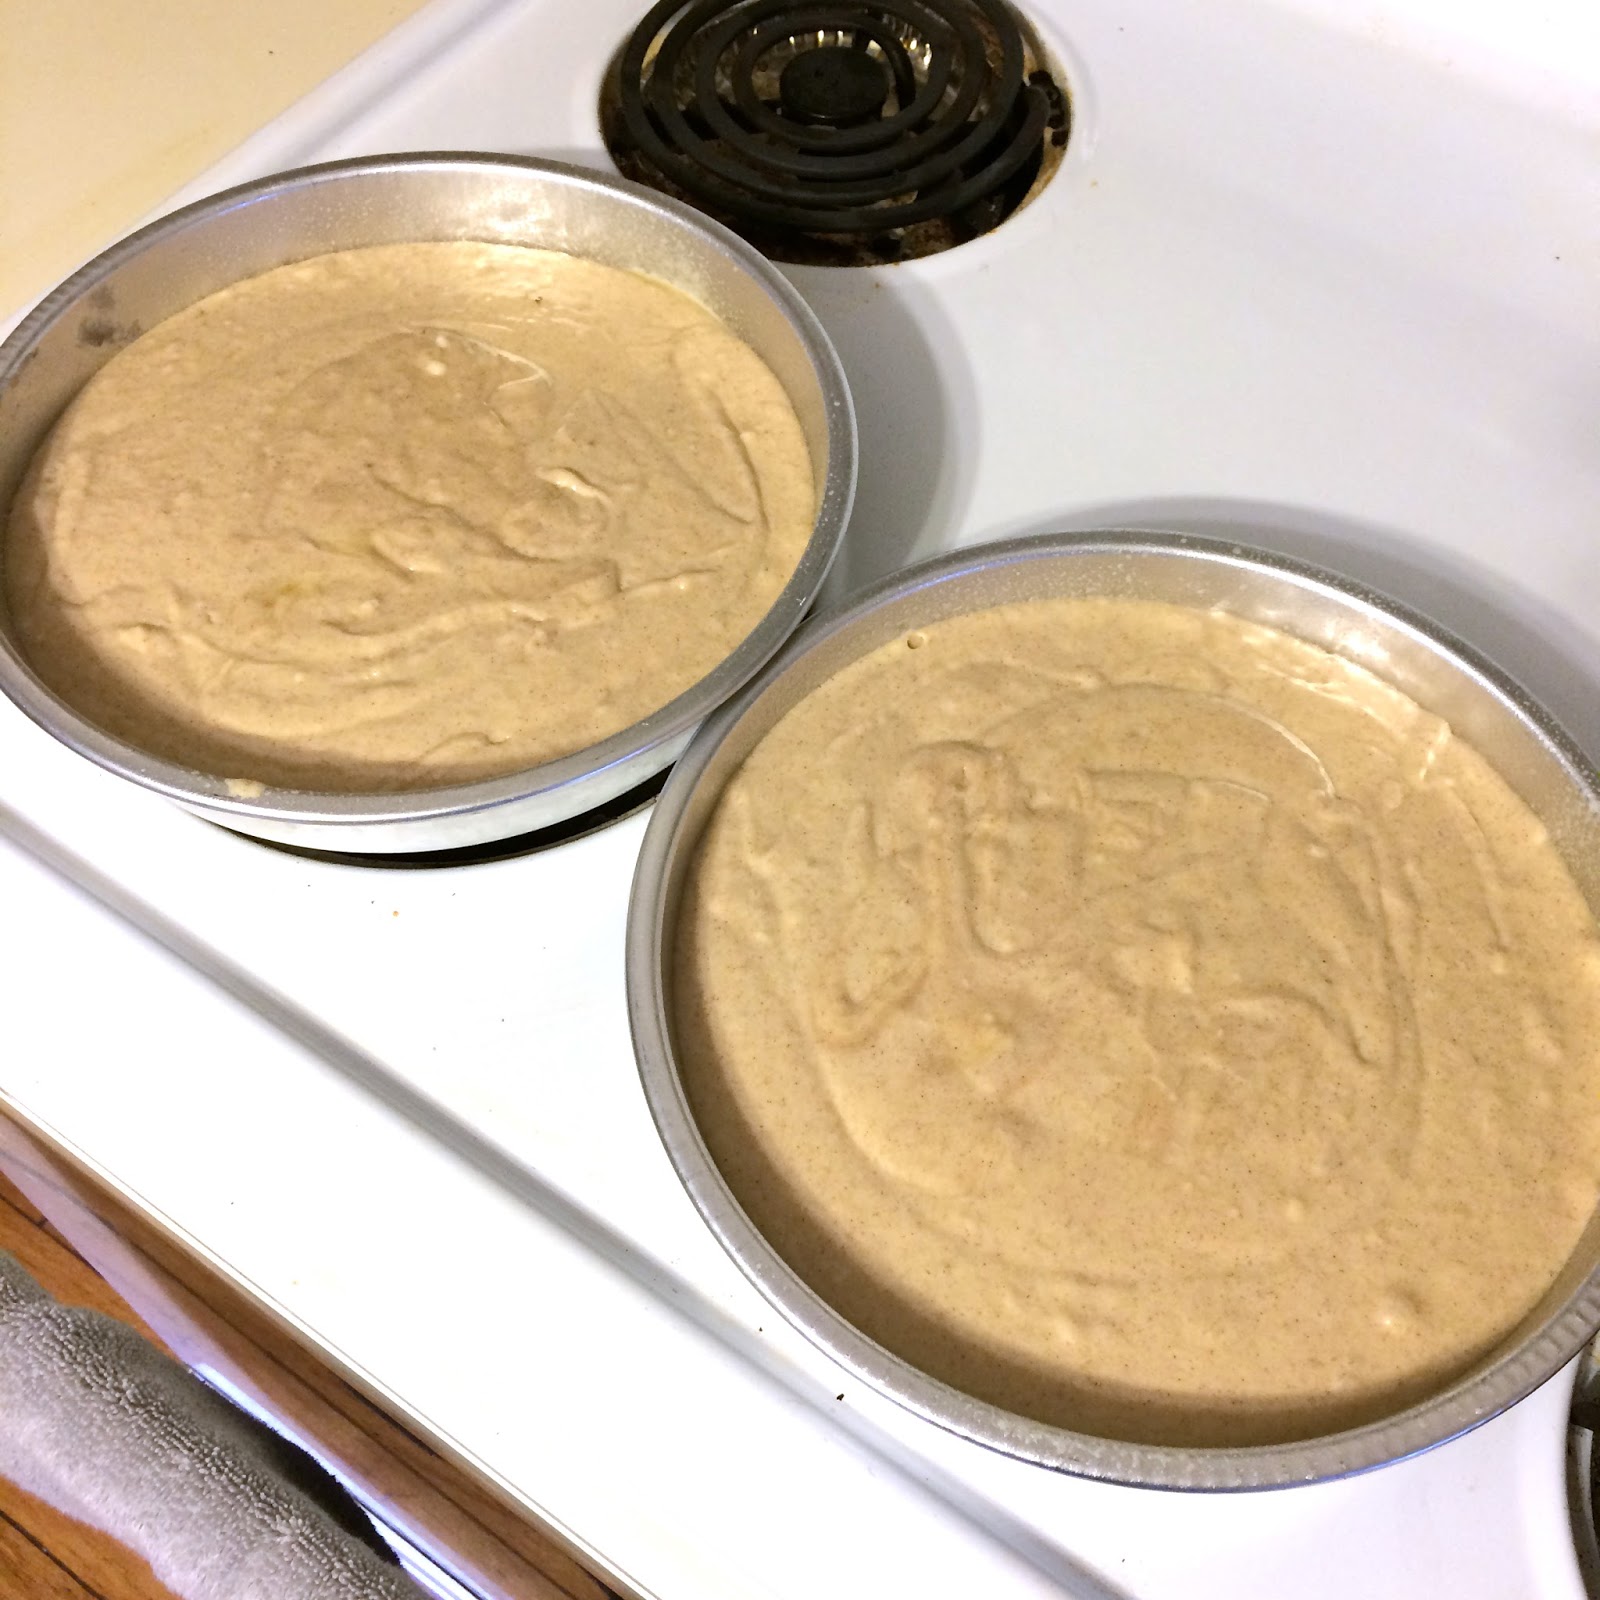
 6. Pour equal amounts of batter into 2 prepared cake pans and bake at 350F for 30 - 35 minutes or until cake tester comes out clean.
 7. Cool on baking rack in pan completely, running a knife around the rim to release while they are still warm.
 8. Frost with American Buttercream frosting - I didn't grab that recipe but there are plenty available online.
And it's ready for your to slice and enjoy :) I like to keep the cake in the fridge just because I live in Florida and buttercream can be a bit slippery in the heat, but it's not absolutely necessary. I made this for Easter and it was a big hit.
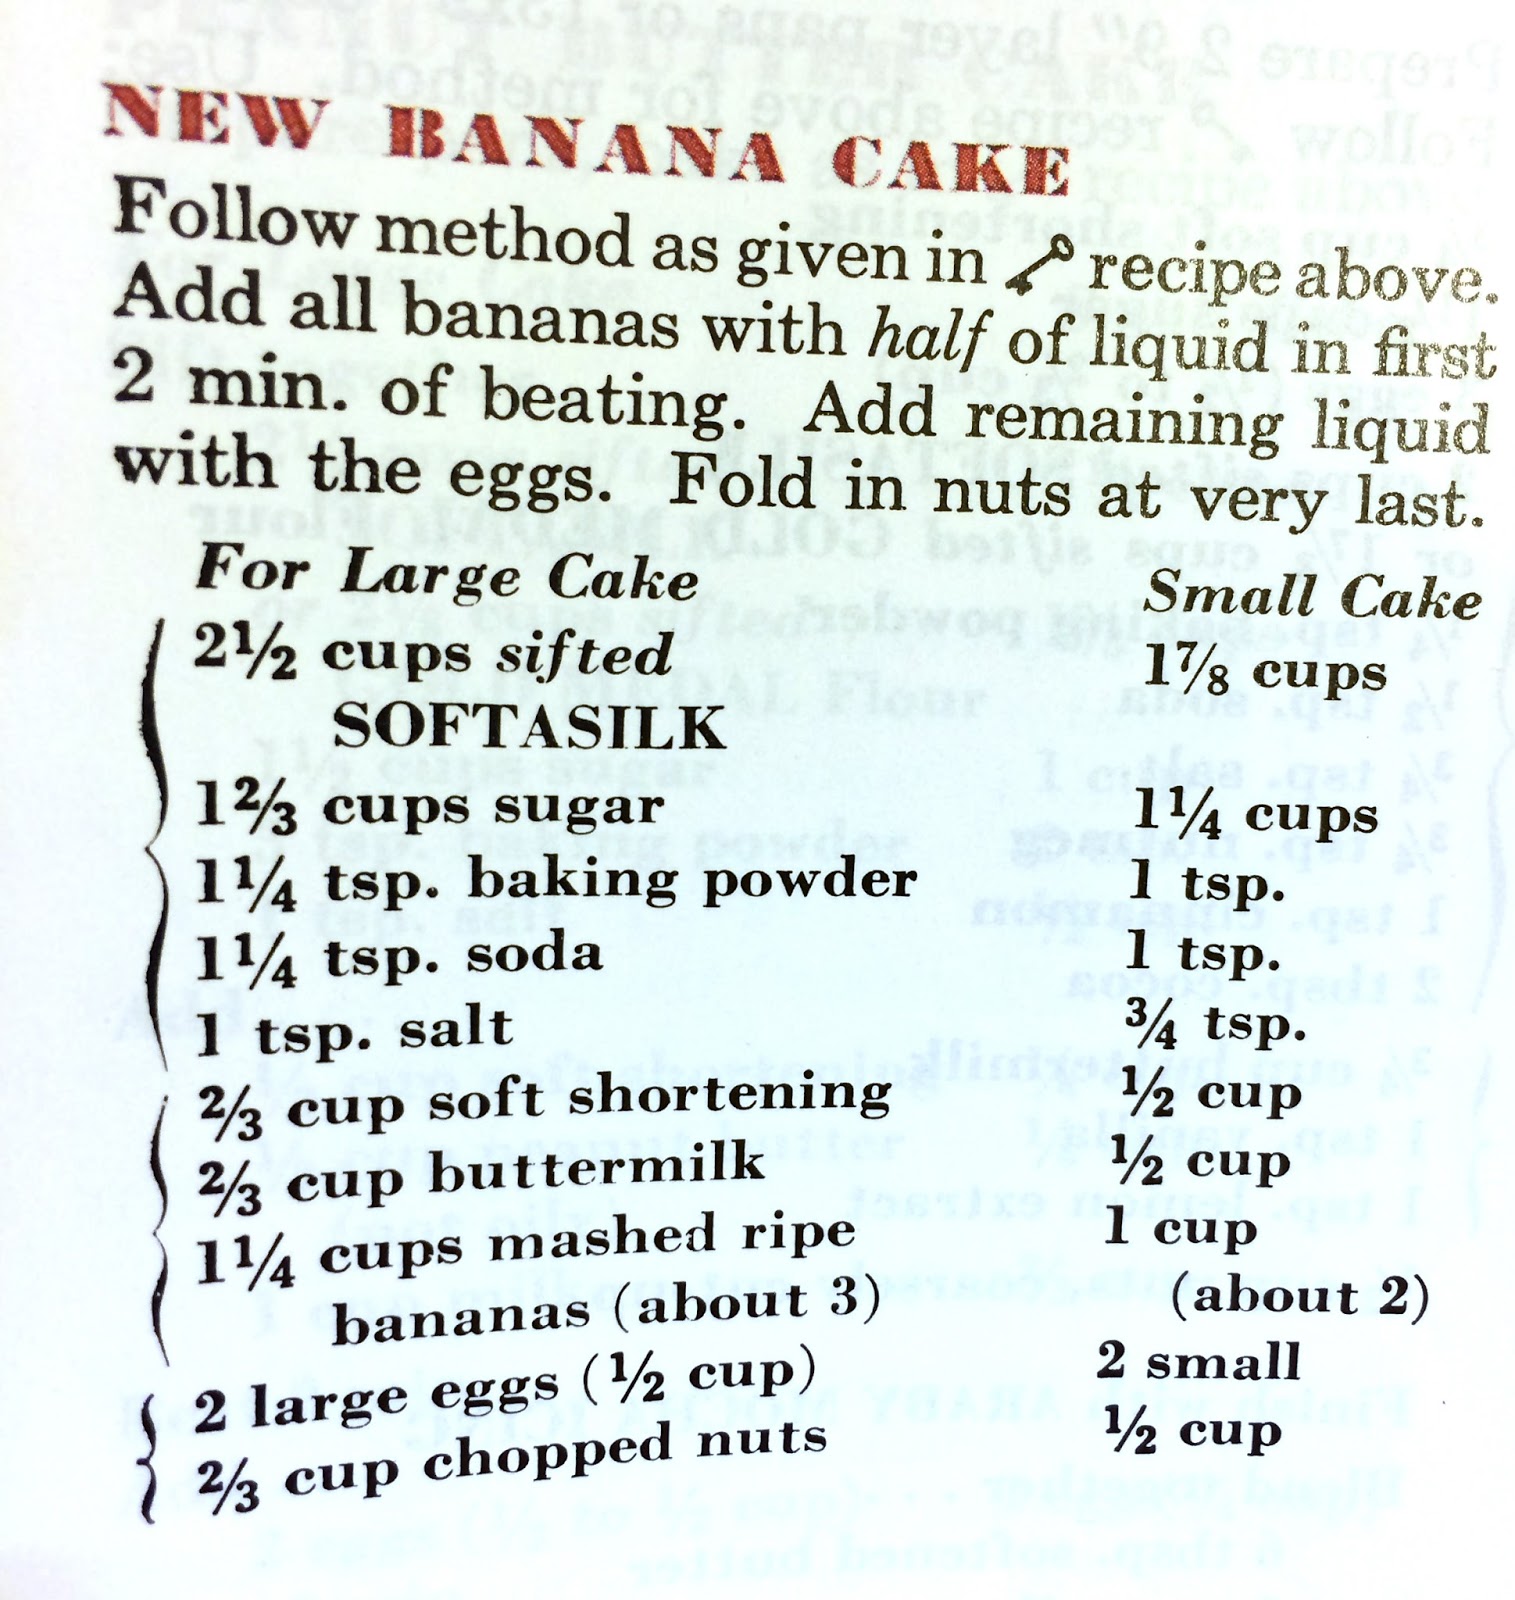
This is what the original recipe looks like, lol. I'm so glad I was alerted to this cake. It really is so yummy and I never thought I would be making banana cake. I hope you enjoy, and let me know if you make this up! Let's keep the banana cake awareness going!

Sunday, October 20, 2013

Fantabulous Food! Honey Garlic Sesame Chicken


It has been a seriously long time since I last posted a Fantabulous Food! This doesn't mean I haven't been making many awesome dishes lately, just that I haven't been photographing the processes. I have had more of a desire to share of late, so I'm sure they will start becoming a regular post again :)

This week's Fantabulous Food! recipe is actually from Disney's EPCOT resort. One of my favorite recipe sites is AllEars.Net - a website devoted to everything Disney, mostly with park info, but they also have the recipes page :) I have no idea how they obtained these recipes, but they are no joke the exact recipes used to make the delicious creations around the Disney parks. They even have quite a few dishes that are from the Food and Wine Festival. I had a hankering to try something new in the kitchen for dinner, and this Chinese recipe struck  true :) This dish is served in the Nine Dragons Restaurant in the China area of Epcot. You're welcome :)

Honey Garlic Sesame Chicken:
  • 10 - 12 oz chicken breasts, cut into cubes
Marinade:
  • 1 tsp chicken base (not bouillon - it's a paste)
  • dash of white pepper
  • salt to taste
  • sugar to taste
  • 1/2 tsp cooking wine
  • 1/2 tsp sesame oil
1. Mix all marinade ingredients, taste to see if you need more sugar or salt. The chicken base tends to already be a bit salty, so be sparing with the salt. The marinade should taste a bit salty (since it's so concentrated), but not too much so. Combine marinade with chicken cubes and stir to coat. Allow chicken to sit for 30 minutes in the fridge.
Batter: 
  • 3/4 cup all purpose flour
  • 1/4 cup cornstarch
  • 1 tsp (heaping) baking powder
  • 1/2 a beaten egg
  • 2 tbsp oil
  • 2/3 cup water
  • pinch of salt
2. Combine all batter ingredients in a large bowl. Whisk until batter is mostly smooth and big lumps are gone. Set aside.
Honey Garlic Sauce:
  • 3 tbsp honey
  • 1/4 cup sugar
  • 2 tbsp ketchup
  • 1 tbsp white vinegar
  • 1 tsp minced garlic
3. Combine all sauce ingredients and stir until honey and sugar have dissolved into the vinegar. Set aside.
4. After you chicken has marinated for 30 minutes, heat about 1.5" - 2" of canola oil in a deep pan. You will want to maintain a temperature of about 320°F while cooking - if it's hotter then your batter will brown and burn before your chicken is cooked through. Arrange your bowls so the chicken and batter are close to the frying pot.
Using tongs, dip each piece of chicken into the batter, shake off excess,
and gently place it in the oil. Continue placing chicken pieces in the oil until your oil surface is about 2/3 full (this will ensure they all have enough room to expand and brown evenly). Cook the chicken for 3-5 minutes on each side.
Remove cooked chicken with a slotted spoon and place on a paper towel covered plate. Repeat this process until all the chicken is cooked.

5. Once chicken is fried, heat your sauce mixture in a wok or rounded-edge pan.
When the sauce starts to bubble, turn the heat off. Add your fried chicken pieces and turn them in the sauce until they are coated on all sides.

6. Serve chicken immediately with steamed rice - Enjoy!
This recipe was seriously delicious. I've never really put in the effort to make real Chinese food at home before, but this recipe is the real deal and tastes like it came from PF Changs. It was a little more time consuming than I thought it would be, but that was because I made a double batch of the chicken so it took forever to fry it all. This batter is honestly my go-to recipe now - it's so light and crispy, not thick and heavy like a Southern style batter.
It's just enough of a batter to add a crunch and hold the sauce well. Also, it may seem silly to marinate the chicken in such a small amount of liquid, but it is so worth it. Do not be tempted to add more to the marinade - the sesame oil is a strong flavor and it is very noticeable in the finished dish. My husband could not stop complimenting this dinner and he seemed very excited that you could really eat the chicken without the sauce - it was that good. I love that you can make everything the same but change the sauce if you want, you could make this into sweet and sour or orange chicken with no additional work - heck, you could even use a bottled sauce if you really wanted to.

I'm so happy to have this recipe added to my repertoire :) I hope you enjoy it as much as we did!

Sunday, December 9, 2012

Fantabulous Food! Quick Salted Caramel Brownies

I know it's been a really long time since I posted any recipes and I'm sorry about that. It's been really crazy around here for reasons that I can't tell yet. We've been all about the quick and delicious around here and I decided to get a little experimental and it really worked in my favor :)

Quick Salted Caramel Brownies:

  •  Any box of brownie mix you prefer (I used Aldi brand) and the ingredients it says you will need
  • 14 mini Milky Way bars, chopped into quarters
  • Torani Salted Caramel Syrup
1. Mix the batter as the box instructs, but don't use quite as much water as it says. My box said it needed 1/4 cup of water so I poured about half that into the measuring cup and then filled up to the 1/4 cup line with the Torani syrup. You could also try using straight syrup if you want. Add to the batter and mix until well blended.
 2. Add the chopped Milky Way pieces and mix well. Grease your brownie pan and spread batter evenly. Bake according to box instructions.
 3. Taste the delicious goodness :)
As you can see, we couldn't wait to try them and they were quite tasty :) If you really want to go all out try a brownie sundae with these and some vanilla ice cream and then drizzle more of the Torani syrup on top. You won't be sorry!

Thursday, August 2, 2012

Fantabulous Food! Chocolate Chip Bacon Cookies

In honor of how well these cookies went over at my Wright's Brand Bacon Party, I decided to put it up on the blog so you could make some bacon dessert for yourself :) Being a Pinterest addict, I have seen all kinds of bacon desserts floating around and I figured these would be the best way to step into the unknown with bacon.

Chocolate Chip Bacon Cookies:
Ingredients -

  • 1 recipe of your favorite chocolate chip cookies (I used the New York Times Recipe)
  • 8 slices of bacon (next time I would use more, so just put as much as you want)
1. Before starting the actual cookie dough, prepare the bacon. Cut the bacon into small pieces. I sliced mine in half lengthwise as a stack, then cut those into the small pieces. It made it much easier to cut it all as one stack, but you can do it any way you want. Put the bacon in a large skillet on medium-high and fry, dipping out the excess grease as you cook it.
2. Set bacon to cool and drain on a paper towel while you prepare the batter.
3. Once you batter is made, add the bacon pieces when you add the chocolate chips and stir until well incorporated.
4. Bake cookies according to your recipe's instructions. Allow to cool before serving.

Et Voilà! Chocolate Chip Bacon Cookies :)
Everyone who tried one of these loved them, even if they were skeptical at first. Really, this wasn't a ton of bacon, so you only got a bit of bacon flavor every now and then. Next time I would definitely go with more bacon and maybe a little less chocolate chips. I definitely recommend trying them for yourself :)

Friday, June 29, 2012

Fantabulous Food: Baby Shower Munchies Menu

My mom is throwing a baby shower for a friend of ours today and I wanted to help out with the food - actually, this was just a nice excuse to try a few recipes that sounded delicious :) Since summer is a time for gatherings and parties, I figured you all might like to get in on this awesome recipe action as well. So, I am making 3 different recipes today and I will list them in the order that they should be cooked.

Sweet and Sour Meatballs by Our Best Bites:
This recipe is seriously the easiest thing ever - it's almost shaming to admit to you how easy it is. Keep in mind I made a double batch, so my pictures will show a larger quantity than I list below.
Ingredients:
  • 12 oz jar Heinz Chili Sauce
  • 16 - 18 oz jar Grape Jelly
  • 2 lbs Frozen Meatballs
1. Combine jelly and chili sauce in a bowl and whisk until smooth. If the mixture is still really lumpy, put it in the crock pot to warm it up and mix it.
2. Put frozen meatballs in crock pot and pour sauce over top. Stir meatballs to make sure they are evenly coated. Cover crock pot and back on Low for 2 to 5 hours.
Seriously, that's it. Just make sure you start these long enough before your party to make sure they are fully cooked and the sauce has reduced to a glaze :)

Mini Corn Dog Muffins by Iowa Girl Eats:
This is a recipe I have wanted to try for a while - thank you Pinterest! While you could do the same idea and just use jiffy cornbread mix or whatever cornbread recipe you prefer, this recipe shows how to make it from scratch and it's really easy so I opted to go with the original recipe.
Ingredients:
  • 1/2 cup melted butter
  • 1/2 cup sugar
  • 2 eggs
  • 1 cup buttermilk
  • 1/2 tsp baking soda
  • 1 cup cornmeal
  • 1 cup all-purpose flour
  • 1/2 tsp salt
  • 8-10 hot dogs cut into 1" pieces
1. Combine sugar with melted butter and whisk until smooth. Add eggs and whisk until smooth. Add buttermilk and whisk until smooth.
2. In a separate bowl, combine flour, cornmeal, baking soda and salt. Stir until combined.
3. Add half of dry mixture into wet mixture and whisk until combined. Add the rest and whisk until combined.
4. Preheat oven to 375 F. Spoon out teaspoon sized blobs into a mini muffin pan that has been sprayed with cooking spray.
5. Press a hot dog piece into the middle of each corn muffin. Bake for about 10 minutes until edges are a little brown.
That's it! These honestly took maybe 10 minutes of prep time and that was to make 2 batches worth :) And I highly recommend making the corn muffin from scratch - it was super easy and delicious.

Garlic Artichoke Dip by Our Best Bites:
This one I didn't start until about 45 minutes before the party started so it would be hot and fresh when everyone arrived.
Ingredients:
  • 1 8-oz packages of cream cheese, softened
  • 1 cup mayonnaise
  • 1 cup (packed) fresh shredded Parmesan cheese]
  • 1 12-oz jar MARINATED artichoke hearts, drained and chopped
  • 6-7 cloves garlic, minced

1. Preheat oven to 350 F. In a large bowl, mix the softened cream cheese with the mayonnaise and Parmesan cheese.
2. Gently add in chopped artichokes and mince garlic.
3. Place in a 9" pie plate and back for 25-30 minutes until it's lightly browned and bubbly on top.
Another very easy recipe that came out fantastic! This stuff (along with the baked brie - another Our Best Bites recipe) was the hit of the party.

So, hopefully you enjoy all these recipes and they come in handy for any of your summer get togethers :) We really enjoyed these and they are very quick and easy. Definitely give them a try!