While on my awesome Publix trip, I just had to buy some of these beautiful strawberries :)
Now, I'll be honest. My name is Megan and I have a problem ("Hi, Megan"). I constantly buy fresh fruit and it goes bad before I eat it. I admit it. Looking at these pretty berries, I just couldn't let that happen to them. So, I decided to make freezer jam :) Strawberry freezer jam us totally my favorite (it's neck and neck with Peach). I have made this many times before with all kinds of fruits, and my favorite recipe is the one from
Sure Jell.
I know that many people find the thought of "canning" intimidating, but really it is very simple and doesn't take long at all! The only things you will need are canning jars (whatever size you choose). I have a few different sizes. I use pint size regular jars for myself and half pint decorative jars to give away - this does make a wonderful gift by the way.
So, without further ado...
Sure.Jell Strawberry Freezer Jam
Ingredients:
- 2 cups crushed strawberries (1 quart of berries + a few extra berries)
- 4 cups of sugar, measured in a separate bowl
- 2 tbsp lemon juice
- 3/4 cup water
- 1 box Sure.Jell Fruit Pectin
1. Take your quart of luscious strawberries, clean them, then cut the tops off. Then slice the berries a little bit - there's no rhyme or reason to it, I just chunk them up a bit.
2. Now, put small amounts of the sliced berries in the blender or food processor.
Make sure there aren't too many, or some of them will purée while others remain whole. You want your berries to be just kind of mashed looking, not puréed completely. You still want to have some larger chunks of berry.
Notice the bigger pieces of berries. This is what you want. The recipe states that you can use a potato masher too if you don't have a food processor, which will yield larger chunks of berry.
3. Measure out 4 cups of sugar in a large bowl. I like to use a clear glass bowl so I can make sure it's well mixed later on.
Now measure out EXACTLY 2 cups of fruit mash. It is very important that it is exactly 2 level cups. I use a scoop style measuring cup and then take a knife and run it along the top to make it level. If you have too much or too little, the jam will not set properly. Mix your 2 precise cups of fruit into the sugar until well combined. Make sure you scoop all the sugar off the bottom and have mixed really well.
Set a timer and let the fruit/sugar mix rest for 10 minutes.
4. After your fruit has rested for about 5 minutes, you can make your pectin. Take your box of Sure.Jell
and pour it into a saucepan with 3/4 of a cup of water. The pectin will be lumpy at first.
Heat the water and pectin on medium heat until just boiling. As soon as it starts to boil, set a timer for 1 minute and stir constantly for the whole minute.
After the minute is over, remove the pectin from heat. It will be slightly more clear and goopy.
5. our the pectin into the rested fruit.
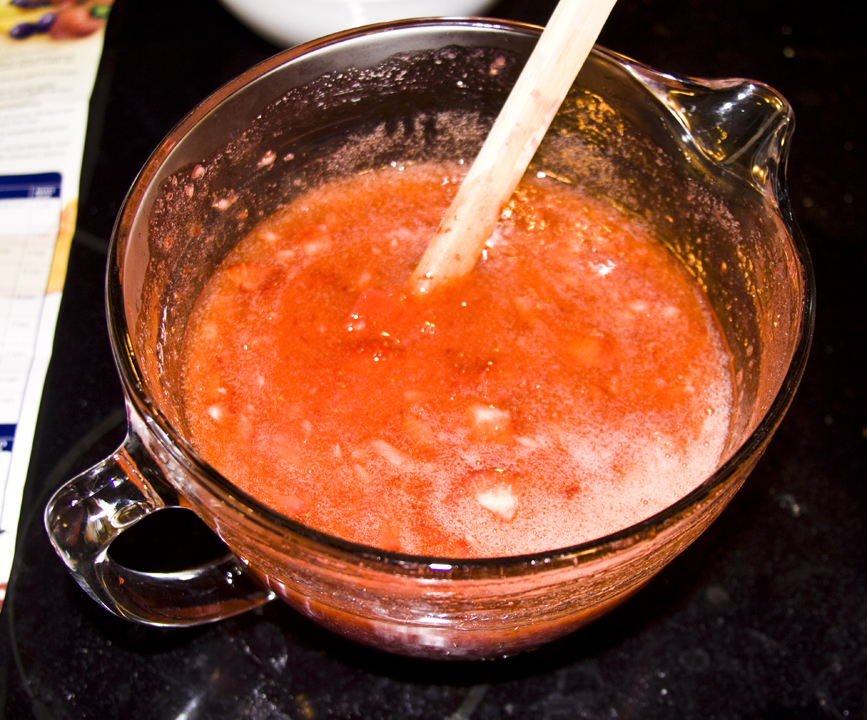
Mix the jam very well until the pectin has combined completely. You need to stir until the sugar is completely dissolved. You will feel a little bit of grit as you stir at first and you need to stir until it feels smooth when you scrape the bottom of the bowl.
6. Pour the jam immediately into your prepared jars (prepare the jars by washing in boiling water and air drying).
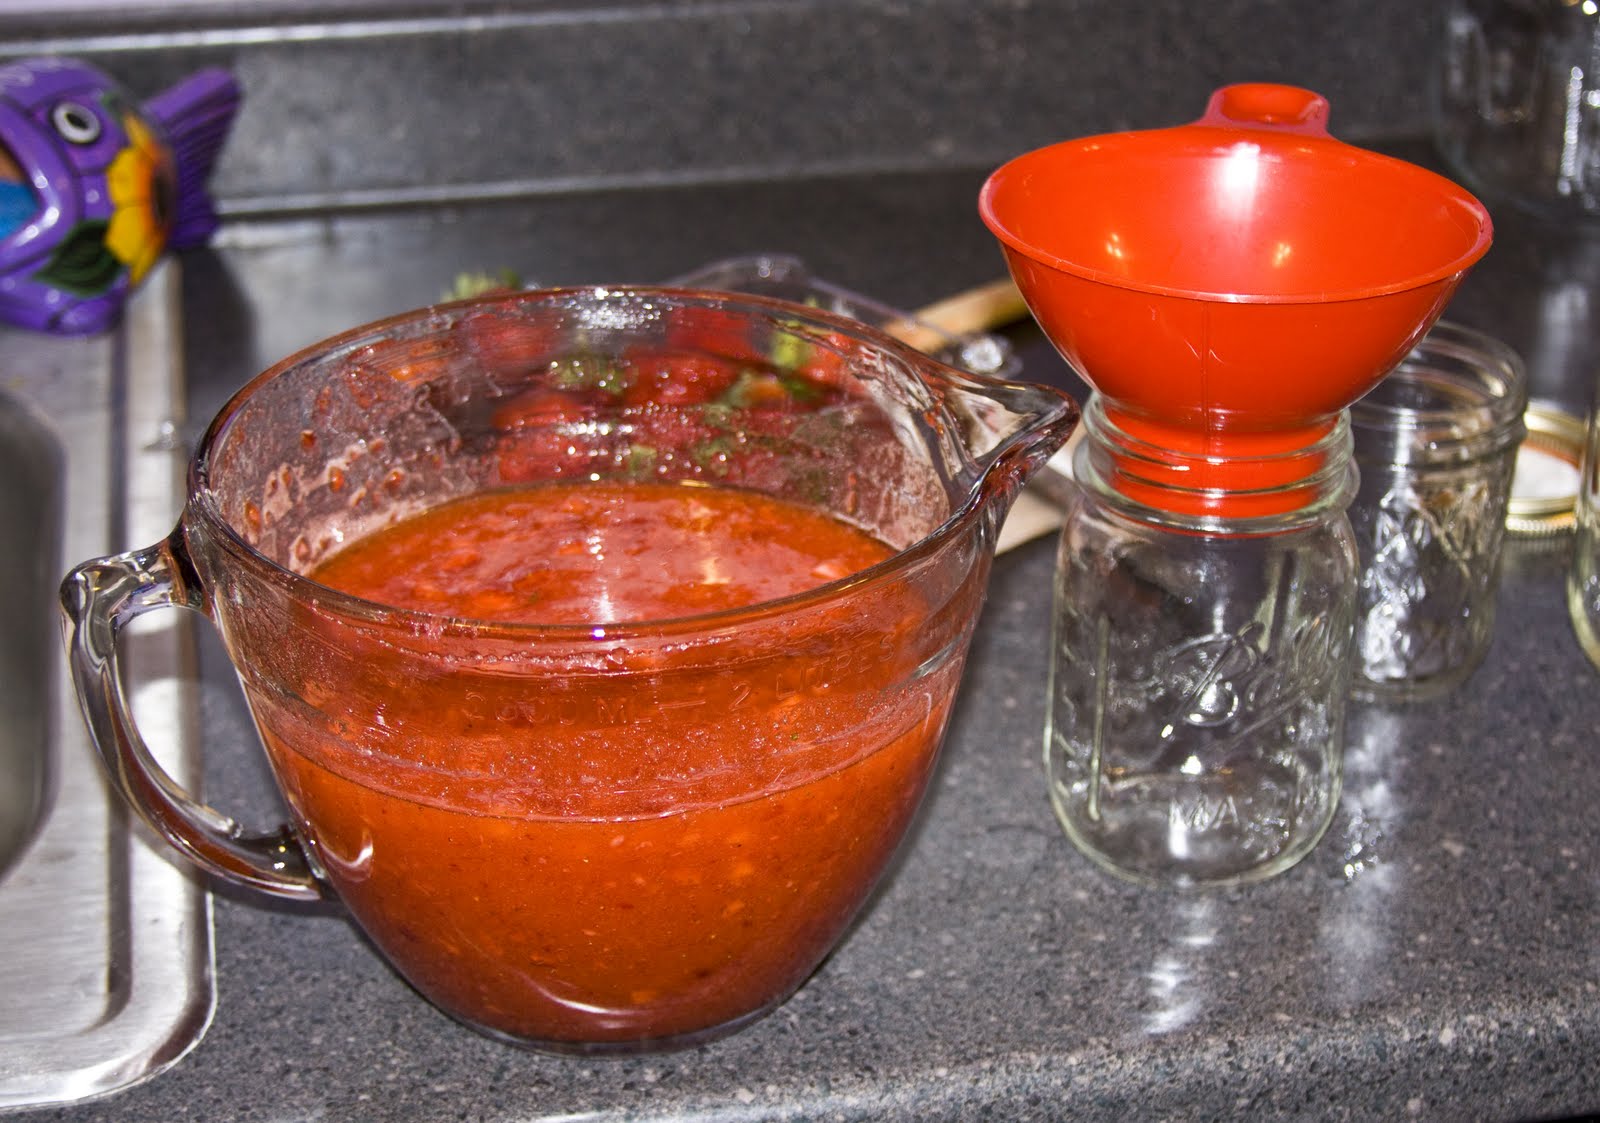
You don't have to have a canning funnel (it has a wider mouth to fit the jars), you can just pour it in the jars. The funnel just helps to keep the jars cleaner. Pour the jam into the jars and leave 1/2 inch of space at the top for expansion.
This is about how you want it to look. I like to wipe the lip of the jar just to make sure (if the jam got on there, it will kind of seal the lid on the jar as it sits).
7. Let your jars sit for a full 24 hours at room temperature (I just sit them on the kitchen counter).
The recipe with 1 quart + a few berries will make 2 pint jars and 1 half pint jar. I did have about 2 tablespoons extra that I couldn't fit into the jars. It wasn't enough to put in another jar, so I made the best of it :)
Did I mention how fantastic this jam tastes on ice cream? :) Well it does.
After your jam has sat for 24 hours, put it in the freezer. When you want to start eating it, put the jar into the fridge and let it thaw a little. It will keep keep in the freezer for up to 1 year and in the fridge for 3 months :)
I will warn you, this will ruin you for store bought jelly. Smuckers is a dirty word in my house. This stuff is so good and so easy, you will never go back to store bought :)
This website has a recipe for most any combo of fruit you can think of. I've made Strawberry, Peach, Four Berry, Kiwi and many more. They all come out delicious. I'm very excited to try the Apricot Pineapple :)
Also, if you are interested in giving these as gifts, one of my favorite crafting websites (
Lolly Chops) has some really cute free printable labels and tags that fit these jars perfect! You can download a pre-made one or on that you can customize. Add a coordinating square of fabric and a label to the jar and you have gift that it looks like you spent a lot of time on :)
Let me know how yours turns out!

.JPG)


.JPG)
 On Monday, I knew I needed to get going with using up a box full of fresh GA peaches we got, so I made 2 batches of freezer jam. This will replenish our supply and I can hardly wait til it sets up and we can eat it!