Showing posts with label stacey trock. Show all posts

Sunday, September 8, 2024

FO: Elephant for Amelia

This is very much out of order, but it's been so long since I did a proper blog post that wasn't about a video and this is one that have photos of already, so you get to see it now :)

A girl I used to work with was having her first baby - a girl - so of course I had to make her a stuffed animal. The mom is obsessed with elephants, so I knew that would be a good choice.

This is the Peanut the Elephant pattern from Stacey Trock's book Crocheted Softies.  I made this pattern back in 2013 and gave it as a gift, and this is one of the first patterns in this book so it is designed to be very easy. It's really just circles and the only shaping is in the trunk. 
There is a little mouth beneath the trunk, which is very cute.
There is also a tiny tail - so cute. I used I Love This Yarn from Hobby Lobby in the Gray Mist colorway. I picked this because it's the color gray I had in my stash, but I wound up needing to buy another skein anyway, lol. Oh well, it's a very useful color for making animals.
I changed the shaping on the trunk just to give it a little more bend, but it honestly looks the same as the first one I made lol. 
And I gave her a bow since this is for a girl just to jazz things up a bit. This is just a tube of about 20 stitches around and 4 rows tall. I keep the yarn attached and did a few single crochet stitches until it was long enough to wrap around the center tightly, then I used the tails to sew it all on the elephant. Easy peasy. The bow was made of some ancient yarn I've had since high school and I have no idea what it is now.
I did baby safe felt eyes this time, which look a little bit surprised, but at least the baby won't choke. I just realized I should have embroidered eyelashes. Dang...

But here is the elephant with her lovely new owner. Isn't she adorable? I hope she grows to love her elephant with time especially since it has so many appendages to chew on. It was nice to make a crochet animal again after a long time, and now I kind of have the bug so I expect you'll be seeing more of them in the future again.

Friday, September 1, 2023

FO: Baby's First Planet

There have been so many babies in my family this year and I was majorly feeling the pressure to make them all gifts. I've made a baby gift for all of my nieces and nephews, so when my sister had her 3rd baby I knew I had to keep up the tradition. But what to make? My sister was planning a space theme for his room, which was surprisingly hard to find patterns for. In the end, I decided to keep it simple and just make my newest nephew a planet.
This is the My Own Planet Amigurumi pattern by Stacey Trock, which is a free pattern. I have a soft spot in my heart for Stacey's patterns because she is how I learned to crochet amigurumi. Her patterns are always a pleasure to work with. This was an extremely simple shape, so I was able to make this up in one evening.
I had this really neat skein of Lion Brand Mandala Ombre I picked up in a thrift store a while back and I knew it would be perfect for this project to add some interest. The previous owner had wound off each color into separate balls and the biggest one I had was the darker blue color, so I made that my main color. You knit most of the main planet, then you stop and make the ring, then finish the planet and tuff it all. Pretty cool, but I ran out of the main planet color where I stopped to make the ring. 
No problem! I just used the lighter blue from the ball of yarn to finish it up. Because of the marled nature of the yarn and it's a planet, I just call it a topographical difference, lol.


Since I had the different colors of yarn that all matched, I decided to switch colors in the middle of the ring. The pattern just uses one color for the planet and one for the ring, but why not have fun with yarn when you can, right? It was a very easy change to make. I also put a rattle inside this to give some interest for the baby when he gets bigger, and the more I think about it the more I think this planet is the perfect baby toy. It rattles, it's compact, the ring is perfect for little hands to grab and chew on. It's washable, lol. All good things.
In the end, this is what yarn I had left, so it worked out great. I really liked this yarn - it was very soft and stitched up great.
And I was able to bring this with me to the hospital to give to my fresh little nephew :) He was born on May the 4th, so space is definitely going to be the theme of his life. I'm glad I could keep up the tradition I've made of making something for my newest little family additions. I hope this little guy enjoys his planet as he gets older.

Summary:

Yarn: Partial skein of Mandala Ombre by Lion Brand - $0.50 (thrifted)

Pattern: My Own Planet by Stacey Trock - Free

Notions: Jingly Cat Toy - $0.25

Time: 2 hours

Friday, September 6, 2019

FO: A Teddy for Teddy

Back in April, my sister had a baby :) When I was about to leave for the hospital while she was in labor, I grabbed all the stuff to make this adorable bear. When my first nephew was born, we had several hours of waiting around for him to make his appearance, and I was able to make this bib for him while I waited. This time I wanted to make a bear for my little buddy and grabbed my pattern and yarn and hit the road. But I had only been at the hospital for about 15 minutes when my new nephew was born. Wouldn't you know? Because I was actually prepared to sit and wait, lol. Anyway, my nephew's name is Teddy, so I thought it was a great opportunity to make him his own first teddy.
I used the Teddy Bear Bookends pattern from Stacey Trock's Modern Baby Crochet book. I've always wanted to make this pattern up, so this felt like the perfect opportunity. Interestingly, the bear turned out much smaller than I anticipated - I'm used to Stacey's animals being about 10 to 12 inches tall and this guy is about 8 inches - but that's only because I didn't read the pattern description since it's clearly noted in the book. It works out great though because he's the perfect baby size as he is.
I used stash yarn for this since I was grabbing in a hurry (plus I have soooo much yarn). The brown is Caron Simply Soft in chocolate and the cream is Red Heart Soft Solids in off white. I was able to make this bear the night after my little buddy was born in just a few hours - it was much faster because it was so small.
Just look at that cute little face :) I think he will serve my nephew well by the time he is big enough to appreciate him.
Here he is at about a week old - unsure of my gift.
Clearly he appreciates my offering, lol.

It was so nice to make a toy again and to know it was going to a very special little person. I hope he enjoys it for years to come! Welcome to the world, Teddy!

Monday, October 2, 2017

Hurricane FO: A Pair of Birdie Rattles

After making my Lions on Saturday night, I had to get situated for another project on Sunday night (when the worst part of the storm passed through). When packing my yarn, I deliberately chose colors that I could use on multiple projects for multiple babies. Next up were a couple of birdies!
This is the Sweet Tweeter! pattern from Modern Baby Crochet by Stacey Trock of Fresh Stitches. I just love her books, and I love this pattern. It's so simple (and quick) to make, but babies seem to love the shape and they make for a fun opportunity to use bright colors. This one is for a particular little girl, so having already made a pink one I wanted to make this different and chose purple. I used I Love This Yarn in the hGrape colorway for the body and Red Heart With Love in Daffodil for the beak.
And of course I added a rattle :) Rattle all the things! I haven't seen the baby this one is intended for in a while, but I'm hoping she likes it.
Since the storm was still raging, I settled in to make my second bird rattle of the night. This is where I had to do a lot of starting and stopping as well as crochet by candle light and/or flashlight, lol. Our power kept going on and off while I was making the body of this birdy, but I was undeterred.
This is another bird intended for a baby girl, and I just love this color so I try to fit it into projects wherever possible. I used Red Heart With Love in Jade for the body and the same Daffodil for the beak.
And this has a rattle as well :) Don't you just love their little faces? I used 10 mm safety eyes for both birds, and I like to put them a little closer together then the pattern calls for.
And here are both birds just after I finished them :) This picture was taken by candle light and with my camera flash, lol. I hope the little ladies I made these for like them and have as much fun shaking them as I do!


Monday, July 3, 2017

FO: Birdie Rattle

After my return to crocheting baby toys a few months ago, I kept the momentum going with another gift. A girl from church who I've known since she was born was about to have her first baby. How's that for making me feel old? She had a girl, and I always like to check out the gift registries for baby showers to see if there is any type of nursery theme the mother has in mind. This time around things seemed pretty general to "baby girl", but there were a few woodland animal printed items, so I went the animal route.
I knew I wanted a smaller toy since this was for a fresh baby, and looking through my Ravelry library I came across a pattern I've always wanted to make up - Sweet Tweeter! from Stacey Trock's newest book, Modern Baby Crochet. I've had the book for quite a while and only just used it! Isn't that nuts? It's a great book, and I will certainly be making up at least a teddy bear in the future. Plus the blankets are adorable. And the other toys. The whole thing is just great, so I foresee going back to it lots in the future. Stacey's patterns are always so cute and easy.
I love how the body is all one piece and that the tail gets nice and flat. I did sew a few hidden stitches right where the body meets the tail after I closed up the birdy just to make sure the stuffing doesn't move around and fill the tail later on. I also made sure to stuff this birdy quite firmly - in my experience the stuffing compresses over time with lots of squeezing, so I wanted to make sure it doesn't get too soft too quickly. I also put a rattle in the tummy to make this more interesting for the baby :) I'm all about the rattles lately, folks. Yarn-wise I went with some acrylic workhorses: Red Heart Super Saver in Perfect Pink and Red Hear With Love in Daffodil. You really can't go wrong with these yarns for kids. It's funny - when I bought this pink yarn for my Bing Bong project I thought I would never use the left over. I certainly was wrong there! I've used this yarn a ton. It's such a nice pink color.
I did use safety eyes on this rattle. Usually I go with felt for a baby, but I just had a feeling that this would be fine on this project. I think these eyes just make the bird even cuter :)

So that is my first Sweet Tweeter! This is such a simple and quick pattern I know this will become a go-to for gifts. Who doesn't love a cute, rattling bird? Even though I made this back in February (!?!), I only just got to give it to it's new owner - Zion :) I hope she enjoys it as she gets older!


Friday, June 23, 2017

FO: Beagle for Baby

I found out earlier this year that my cousin would be having her first baby in June. I knew I wanted to make a toy for her, but it took me a while to decide what to do. Now that it's made I know it's so perfect that I can't believe I didn't see it straight off!
It's a beagle! This particular baby has two beagles siblings that my cousin has had for years now, and they are an integral part of their family. So why not make a mini beagle of her very own for the new baby girl :) I used the Beagle pattern from Fresh Stitches by Stacey Trock. I always love her patterns - they are so straight forward and well explained. Because of her fantastic directions, this puppy only took a few hours to make.
I love the body shape and the color blocking - I think with amigurumi dogs it can be hard to make different breeds, but this one is obviously a beagle to everyone, so that's a sign of a job well done to me. I love the bog floppy ears! I worked from my stash on this one (as ever), so this is made of Red Heart Super Saver in Cafe Latte and Black along with Vanna's Choice in White and Dusty Rose.
The back has a black splotch that continues onto the tail. I also love that the tail is curved to one side - so cute! To add to the fun (and hopefully make this more interesting to a very young baby) I added a jingling cat ball to the belly and a speaker to the foot. So not only does this have many appendages to chew on when teething, there are even fun sounds to go with it :)
I was also very excited to use some of my dog noses on this make! I have regular triangle generic toy noses too, but I grabbed some of these dog style noses at The Sewing Studio in one of their sales a while back and I've never made any dogs that called for a safety nose. I LOVE the little nose. I think it really adds to the cuteness factor on this doggy.
Once I finished assembly, I thought it looked a little plain, so I made a pink collar to jazz things up. All I did was chain 3, sc into 2nd st from hook, ch 1 and turn, sc 2, ch 1 and turn, etc until it was long enough to go around the neck. I cut a long tail so I could not only sew the collar together at the back, but also so I could go in and out of the collar and secure it to the body. In my experience it's pieces like this that get pulled on and stretched out and quickly look icky when they aren't secured down. I think it turned out as just the right touch :)
And here is the puppy with her new owner - Emma! Isn't she adorable?! I can't wait to meet here in person. I hope she grows to enjoy her very own beagle. My cousin says it's great to have a beagle that won't get up and leave the room when the baby come in, lol. 
Yay for babies, and cute puppies, and great patterns to make them with :) If you need a beagle of your own, I can't recommend this pattern enough!

Friday, September 12, 2014

FO: The Bird and The Bee

I already revealed half of this project on Wednesday, but I wanted to show everything here all together :)
Last week my sister asked if I could make her an animal to give as a baby shower gift. I had a lot of other projects in the works already, so I decided to make something simple. I decided to use the Jay, The Bird pattern from FreshStitches, but make her girlier. My sister also requested she have a flower in her hair.
I call this little lady Jayne, The Bird :) Isn't she cute?! I just love how she turned out. I used Red Heart Super Saver yarn in Baby Pink and Yellow, as well as Red Heart With Love in Hot Pink for the flower.  
Since this birdy was for a baby baby, I went with baby safe eyes. I used my Sizzix paddle punches to cut out circles of black and white jersey left over from some of my recent t-shirt making endeavors and it worked out really well. I hand sewed the eye pieces on and then embroidered her eyelashes with some black yarn scraps. The flower is the "Little Flower" pattern from the book Crochet Garden by Suzann Thompson - it ended up being the perfect size! Just the little touch the project needed.
Mr. Bee here is actually a slightly altered version of the bees from the Buzzy Bee Mobile pattern from Stacey Trock's new book, Modern Baby Crochet. As part of the shower all of the guests were asked to make something to contribute to the baby's mobile - cute idea, right? When my sister saw the bees, she asked if I could make one but add wings. I made the bee body up til the point where you start decreasing so that I could get an idea of the scale of the wings. The wings I made were just free-handed, but it worked out well. 

Bee Wing Pattern:
1. Chain 10
2. SC into 2nd stitch from hook and all the way down (9 stitches)
3. Turn and SC 4 stitches. Fasten off with a long tail.
4. Bend the wing in half (pivoting at the end of the 4 sc stitches) and sew the wing together down the center.
Mr. Bee is made of Vanna's Choice yarn in black, mustard, and white. I added 6mm eyes and an embroidered smile to give him more personality. While I was making him, my husband suggested he should have a stinger. After brainstorming for a short while, I decided to tie off at the end but not pull the knot to the inside like I usually would. I kept the knot outside, tied it tightly, then cut off the excess leaving a little pieces sticking out. I put some fray check on the stinger and it was done :) I think it came out well.

I really enjoyed the break from my larger projects to make these. Sometimes quick and cute can cure your problems :) 


Tuesday, August 5, 2014

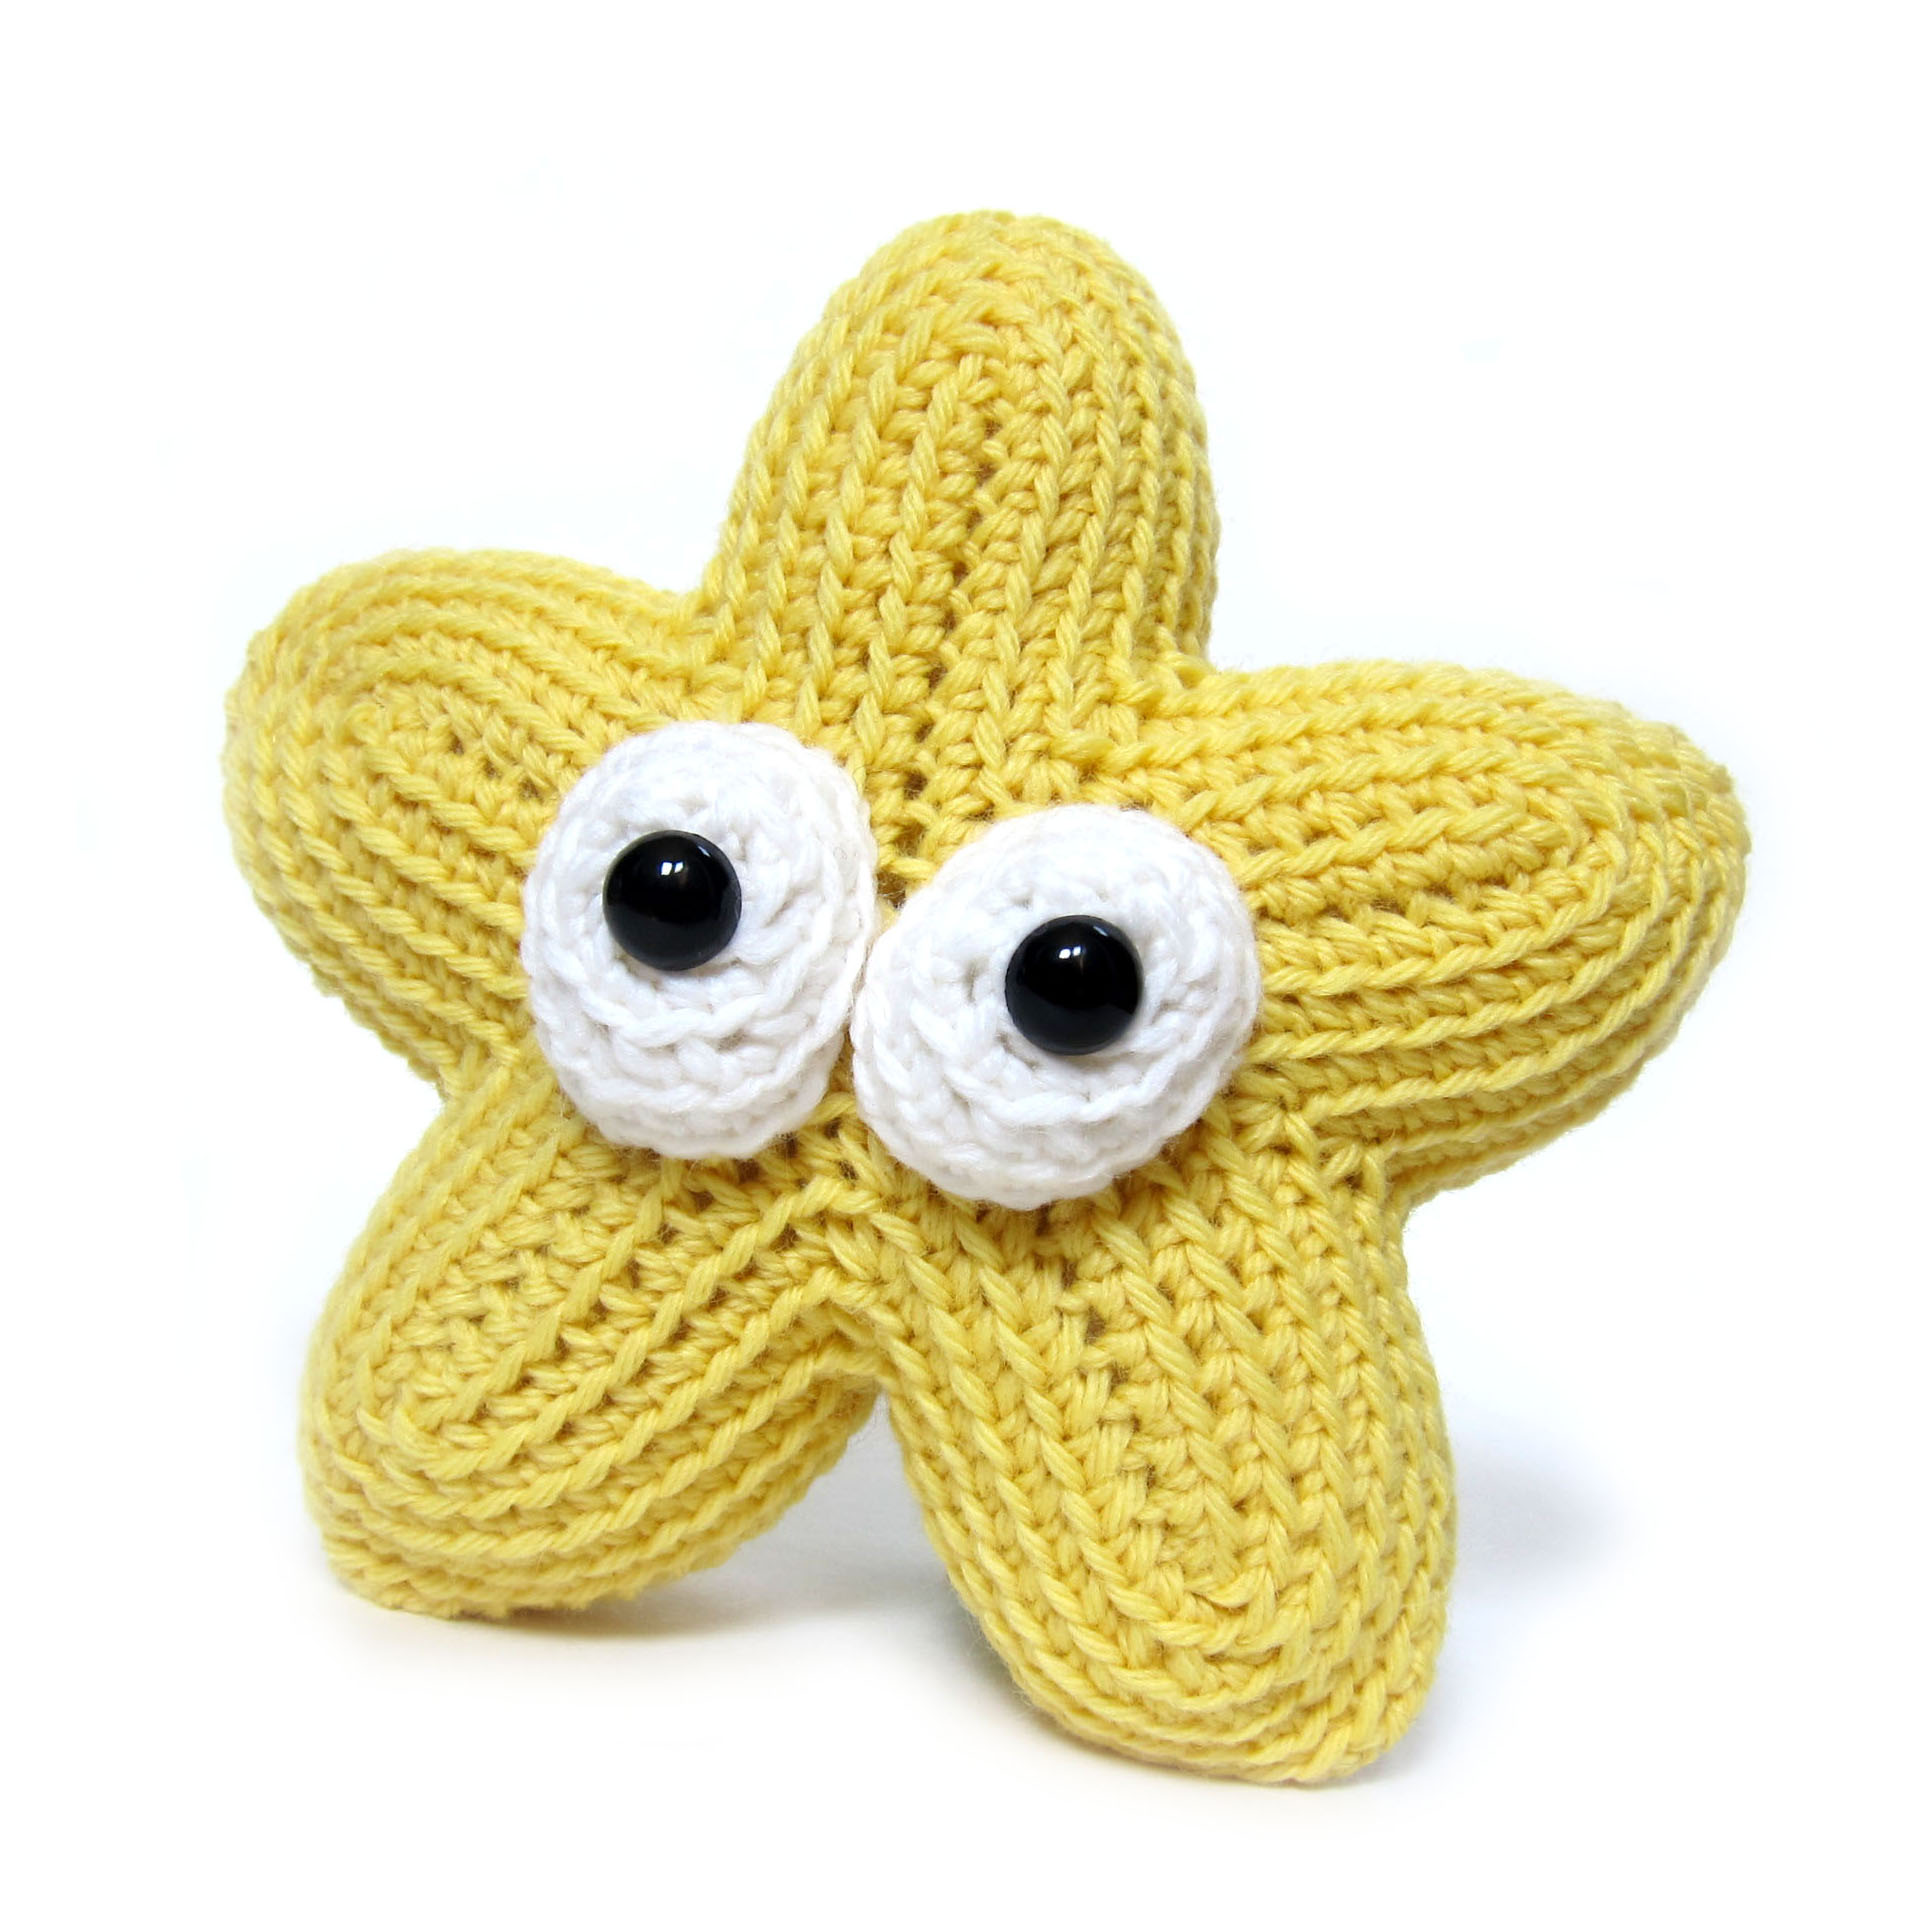
FreshStitches Freebie: Sammy the Starfish

Today is a great day, friends! Stacey at FreshStitches has released a new pattern, Sammy the Starfish. As a perk for those who follow her, she is offering the pattern FREE TODAY ONLY! If you'd like to crochet this little cutie, head over here to download the pattern for free! But hurry! Tomorrow morning, the pattern will revert to its normal price of $5.

I hope you enjoy!

Friday, February 21, 2014

FO Friday: Ravellenics Edition

Well it's that day of the week again and I have not just one but TWO finished items :) And this week both of my items qualify for the Ravellenic Games on Ravelry - I've never participated before, so I'm very excited to have a few items finished for it. First up is my much blogged about Blue Angel Shawl:
I finished this up on February 15th at 10:30 pm and it is my entry for the WIP Dancing event. This was made with the Blue Angel Shawl Pattern by Stefanie Japel that I bought as a kit through Craftsy. I've mentioned my many woes with this shawl already in other wip posts, but I really do like the finished product. I had a lot of yarn left when I finished where the pattern indicated, so I added 2 additional repeats of the lace border and I am super happy with this decision. I think I like it better with the wider lace border :)
My finished shawl measures 43.5" wide and 21" tall. My only complaint now that it's all finished is the bind off. The pattern says to just bind off like normal and then add a picot edge (which it tells how to do). I took this to mean just a regular bind of (k2, pass 1st st over 2nd st). I even went up 3 needle sizes (when the pattern only said to go up 2 sizes) and I made sure to bind off loosely, but it still is WAY too tight. I couldn't even stretch the edge out wide enough to be straight when blocking. I honestly had to pull the edge so hard while blocking that it felt like the yarn might break, and it still isn't perfect at the corners. Also because it's so tight the little picots curve forward even while you wear it. So, I have to strategically wrap this to look nice. Oh well, lesson learned for my next shawl I guess - ALWAYS use a "super stretchy bind off".
I really do love the lace though :) It was a bear, but I am happy with it now. Also this was made using Cascade Heritage Sock yarn and I am definitely a fan - I can't wait to use this yarn again!

And my second Ravellenics item is for the Toy Tobogganing event: Meet Husky Dave the Dragon!
Dave here earned his name as a collaboration between my husband and me. We were thinking of D names to go with Dragon and settled on Dave. Then I mentioned how he ended up with a bigger-than-called-for bottom since I somehow increased way too much (I still don't understand how I did that). So my husband suggested Husky Dave and the name stuck, lol. I made Dave using the Dragon pattern from FreshStitches. I actually won this pattern in the November 2012 Photo Contest with my Shirley the Alpaca and I had never used it until now. A crime! I decided using this long stashed pattern would be a good goal for the Ravellenics and I'm so glad I did.
The coolest part of this pattern is that it's designed like a "choose your own adventure" book. The pattern includes all kinds of different features you can choose for your dragon - you just make up the ones you want and it tells you how to put them all together. Pretty cool huh? Essentially I could keep using this pattern 20 times and never end up with the same result. This time I chose to give him small horns, wings, beady eyes and an arrow tail. You can also give him scales, cheek flaps, buggy eyes or a wider tail.
I love the cute little nostrils, lol. I also love this fun color combo. The blue is Everyday Soft Worsted in Azure (a new fav), the pink is Red Heart With Love in Hot Pink, and the green is Red Heart Super Saver in Spring Green. All of these yarns were in my stash - I love that about amigurumi. You can just choose colors from yarn you already have and they still always come out cute :)

So there are my Ravellenics projects :) I would like to think I could finish another item by Sunday when the Olympic ends (which is the deadline for Ravellenics projects), but I'm not going to beat myself up about it. I did finally pull my Purple Boob Holder out and figure out my mistakes last night. Now I'm knitting the body and it's coming out well, though I doubt I can finish it in a few days. We'll see.

That's all around here this week. Head over to Tami's Amis' Blog to see the beautiful things others have finished this week :)