Showing posts with label t-shirt. Show all posts

Friday, October 4, 2024

FO: Sewing Slump Plantain

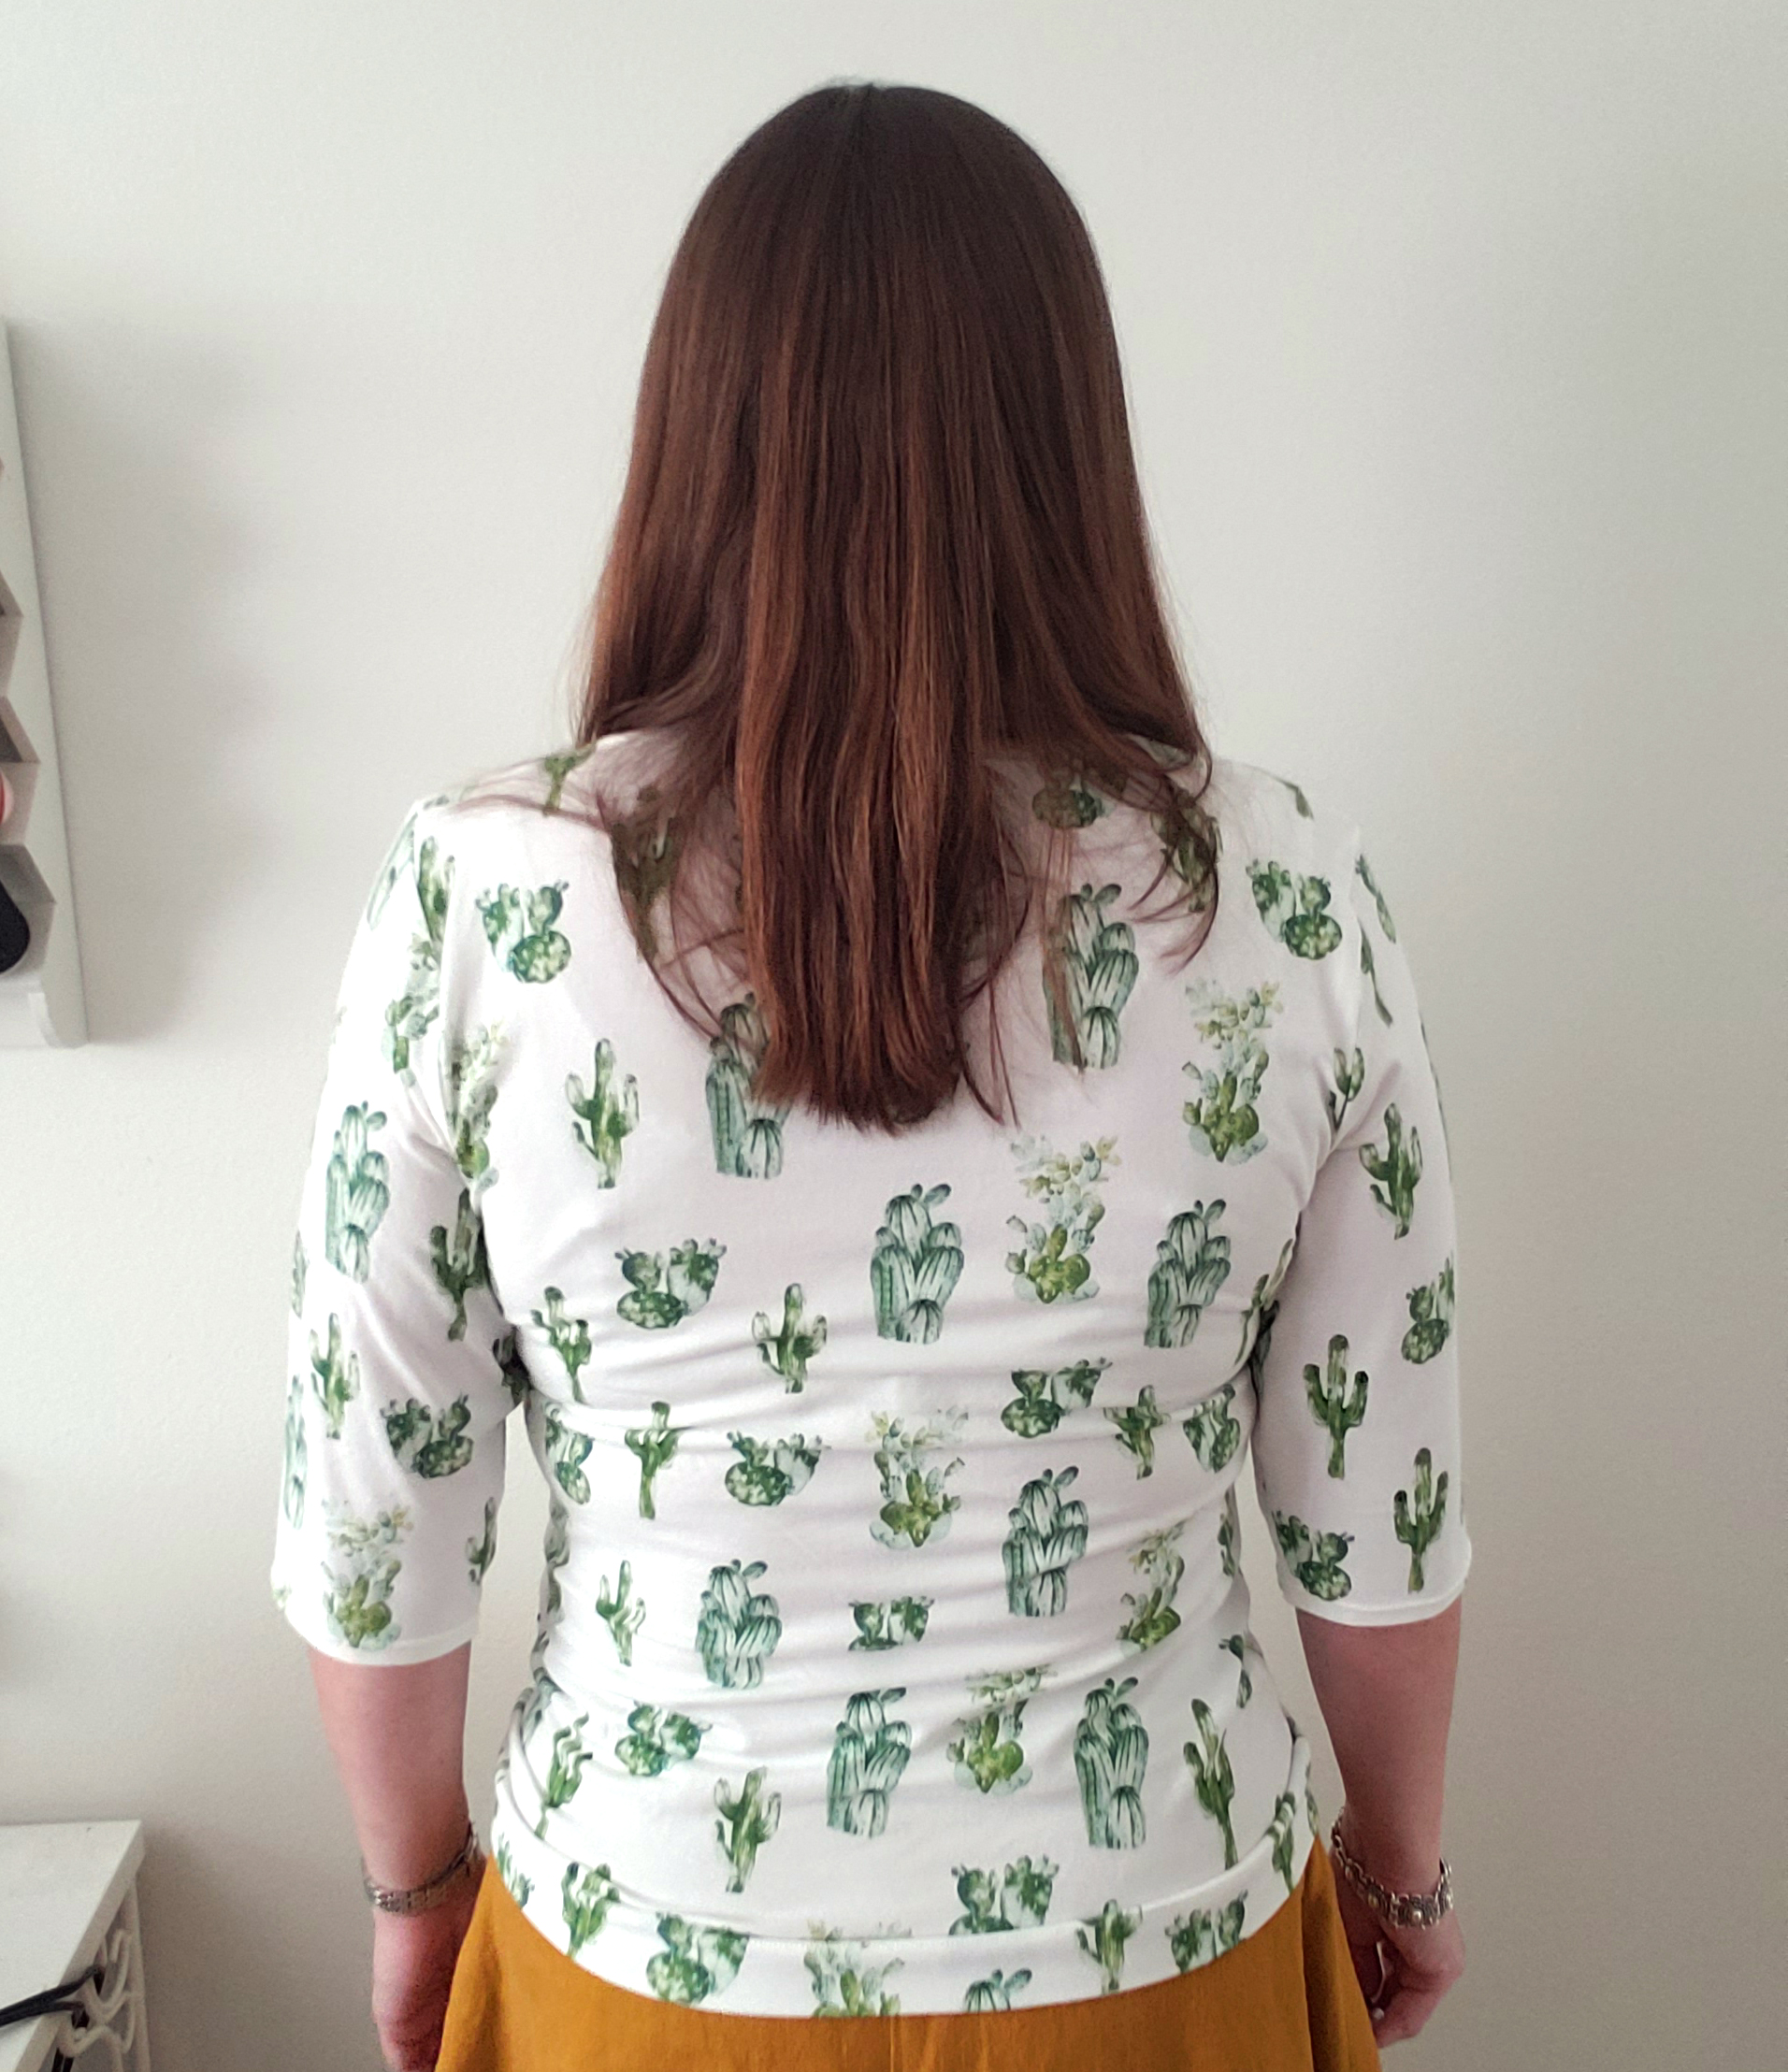
I put out a video about this shirt, but it's been so long since I did a usual blog post that I thought I would post this as well :) 
I find when I'm having a hard time sewing things, I need to grab a simple project that I've made before so I can forget about fitting issues and just sew. The Plantain Top is the perfect pattern for this purpose. I've made this shirt many times over the years, and it's perfect if you're not feeling super confident about your tummy.
I used a 1 yard cut of Art Gallery jersey called Love Story Flower Stamp Adore that I grabbed at The Sewng Studio this past July for a steal. I love the color and this fabric is wnoderfully soft. Very comfortable.
I did raise the neckline of this pattern years ago by combining the Plantain with the Renfrew neckline - easy peasy. Now it's a comfortable height so I don't have to worry about showing more than I want to.

All in all, this was the perfect project to get me out of my sewing slump :) If you haven't seen the full making process, head over here to see it on You Tube :)


Summary:

Fabric: 1 yard of Art Gallery Love Story Flower Stamp Adore Jersey - $7.94

Pattern: Deer & Doe Plantain Tee - Free

Notions: Knit Stay Tape - $0.25, thread - $0.50

Time: 3 hours

Total Cost: $ 8.69


Monday, October 16, 2023

FO: Yellow Eyelet Top

Back in August, I was on a mission to find a good woven t-shirt pattern. I narrowed down my pattern stash and chose New Look 6483 because of the fabric requirements hoping it would be close enough in my size to make it work. I have quite a few smaller pieces of woven fabric that would make great shirts, so this was the first step in using up a good chunk of my stash at will.

Since I was aiming for a wearable muslin, I used this freshly thrifted yellow embroidered cotton eyelet. I'm a sucker for anything embroidered, but add eyelets and I just gotta have it, so when I saw this piece for $0.50 I grabbed it. The fabric was only 1.5 yards of 44" wide, but eyelet also doesn't go all the way to the edges, so this was more like 40" or narrower. While cutting out the pieces, I discovered the person who wrote the price on the piece of masking tape got green permanent marker toward the middle of this cut of fabric :/ So cutting this out was a challenge to make everything fit and not show off the bare edges or the green mark.  
I did lower the neckline by about 1 inch before cutting this out, which I'm very happy about. I shudder to think how high this was drafted to be. Since this was an eyelet material and I didn't want to see a facing, I used bias tape to finish the neckline, which worked out great. Once I got the pieces all assembled, I discovered just how wide the shoulders were. This time around with sewing clothes for myself, I have noticed just how narrow my shoulders really are in comparison to the measurements of the rest of me. I took 3/4" off each side, which worked out great, but it meant setting in these sleeves multiple times each. 
My sleeves are slightly shorter than the pattern calls for just because of my small length of fabric I had to work with, but I actually am really happy with the length on these. They have just a rolled hem finish like the pattern suggests.
The back definitely needs a bit more alteration on my next version. This was with me curving the area above the shoulder blades in by about 1 inch but it still bulges where the keyhole is. My hair covers this when I wear it, so it's not that big a deal, but I would eventually like to figure out the curve there and scoop the neckline just slightly so I don't have to worry about a button closure. I did hand macrame a button loop and used an orphaned yellow button from my stash, which is nice. Always nice to use up pieces.
I also shortened the length with cutting this out, but in the end it turned out perfectly on me. This meant that the split side is a bit shorter than the pattern indicates. Oddly, the pattern had very limited instructions on the hem of this. I had serged the inside seams together everywhere, so when it came time to sew the split side I had to do a little futzing. It worked fine in the end and I think the outside looks good, and having serged sleeves makes this so much more washable.
And that's my shirt :) While this was just supposed to be a muslin, I love how it turned out. I wasn't convinced this color of yellow would work on me, which is why I was fine with using this as a sacrificial muslin fabric, but now I really love it. It looks very cute with a jean skirt and it's breezy and comfortable for the Florida heat without showing too much. Weirdly, I tried to make this up in a broadcloth shortly after this make and the shoulders were such a drastic failure that I couldn't save it. I will probably need to make another one exactly like this one - meaning I won't take the shoulders in flat but wait until I'm setting in the sleeves - so that I can figure out what the difference is. When I lay this one on the pattern, the shoulders are size 8 while the body I cut out is a size 16. Crazy. I'm glad to have done this little experiment and that I got such a cute shirt out of it to boot!

Summary:

Fabric: 1.5 yards yellow eyelet cotton - $0.50

Pattern: New Look 6483 - $0.50

Notions: Bias Tape - Free, Thread - $0.25

Time: 3 Hours

Total Cost: $1.25

Monday, September 25, 2023

FO: White Gable Top

And finally the Gable top that started me sewing Gables! This shirt was the one I wanted so much that I made the other versions to test with. I just love a slash neck and it seems that I am always in need of simple white shirts because I have a lot of colored and patterned bottoms, so it really goes with everything. Being an avid thrifter (at this point I can't even imagine paying full price for new clothing - like... how do you do that?), I have to admit that good white shirts are notoriously hard to come by in good condition. They always seem to have holes or stains. I mean... they're white, you known? So when I saw that The Sewing Studio had their white Laguna Jersey in their clearance section, I bought 6 yards to I can make myself as many white t-shirts as my heart desires. I specifically had this pattern in mind when buying this fabric, so it's only fitting that it be one of the first things I make when I start sewing again, right?
So the Laguna Jersey has a bit of a tighter recovery than my Prickly Gable or my Purple Roses Gable did. This shirt was cut at the same time and in the same way as the Purple Roses version, but this one came out much more fitted. Not badly so, just obviously more snug. It's still comfy, so I am fine with the difference. I just need to remember to account for the recovery next time.
You can see the difference mostly in the back. Still not bad though. 
Funny enough, the arms were still too loose and I had to take them in a bit and they are still a bit loose at the hem. I guess my forearms are thinner than the pattern is drafted for in my bust size? I'm learning how oddly sized my body is more and more with each make, lol . It's all good though.
The neckline is great - maybe a tiny bit too tall. This knit wanted to roll much more than the other 2 did, so it was harder to get it rolled down enough. Still a good height - just something to consider next time. I did narrow the shoulders again, but again it could use that extra 1/4 inch narrower. I'm going to have to pull out the pattern pieces and make this adjustment on the paper itself so I remember.
I used twill tape in the shoulders again, but I decided to use a fancy flower ribbon from my stash to mark as the tag, because why not? I figured the floral might show through on the shoulders, but in the back my hair would cover it anyway. This also has a  inch deep hem, which helps the shirt lay nicely when I tuck it in.
This shirt is the perfect blank canvas for my new skirts I've made recently. Like... literally everything matches a white skirt. It's such a versatile piece and I'm so thrilled to finally have this made up. That said ... now I'm wondering if it's a little too plain. I've been obsessed with Irish crochet lately and I'm contemplating maybe making a few white motifs to sew on the neck area? OR maybe I just need to make a second top and leave this one totally plain? We'll see. For now, I love having this one as it is.
So that's the final piece of my trio of Gable tops! I made all of these in just a few evenings and I've loved having every single one of them in my wardrobe. It's always nice to have something so immediately useful to wear, isn't it? It's probably not the most editorial shirt to look at, but I can't recommend a white t-shirt enough. And now I have enough fabric to make more if I (inevitably) stain this one, lol.


Summary:

Fabric: 1.25 yards Laguna Cotton Jersey - $6.00

Pattern: Gable Top by Jennifer Lauren Handmade 

Notions: twill tape, thread - Free

Time: 2 hours

Total Cost: $6.00

Monday, September 18, 2023

FO: Purple Roses Gable Top


After the success of my Prickly Gable Top, I immediately and excitedly cut out  more. Technically the one coming up next was cut out first, but this one was finished first, so it gets first billing lol. While thrifting about a week before making this top, I was at the cashier buying some things and noticed a bucket tucked under a table near the front that said Fabric $4 Per Bag. I always must look in these bins, but I really only found this interlock knit. Since I was buying a bunch of other things, the woman just let me have the fabric for free, lol. It was a 2 yard cut, 60 inches wide. It's definitely mostly cotton, but there's probably something else blended in there (I just try not to think about it now that I've been trying to change to natural fibers, lol). 

This fabric is really cute, but it is the type of print that could easily go wrong if you're not careful with the finished garment style. I thought that a Gable Top was the perfect combo, and I still think I was right :) I made the size 16 and narrowed the shoulder by 3/4 inch like my previous version. This knit isn't as tight of a stretch as the cactus print, so it came out with a looser fit that is very comfy while still looking fitted.

For this version, I decided to secure the shoulders on both seam allowances, not just one like the instructions call for. I used a pretty printed ribbon form my stash for the shoulders as well as the back "tag" so I can make sure I get it on right. I cut this one shorter, but I still made a 1 inch hem.

I particularly love the neckline on this version. It's just the right height and it holds its shape smoothly a bit more than the other 2 I've made. The shoulders are still that smidge too wide, so I need to go a full 1 inch narrower next time. Not bad though. I also narrowed the arms a bit on this one so they are more fitted like the body and I like how they came out.

I really love the print of this shirt, and the little yellow flowers make it match my mustard linen Fiore skirt perfectly. It's made for a very cute outfit that I continually reach for.
So this was a pretty quick and simple make, but a great wardrobe staple for me. It looks cute but not childish - very much me, lol. I have about a yard of this left that I want to use to make something for my girls to match me. How cute would we all be?!

Summary:

Fabric: 1 yard purple floral print jersey - Free

Pattern: Gable Top by Jennifer Lauren Handmade 

Notions: ribbon, thread - Free

Time: 2 hours

Total Cost: Free

Monday, September 11, 2023

FO: Prickly Gable Top


High on the success of my Cielo and Fiore sewing adventures, I decided to revisit a pattern I'd tried and failed at making about a year ago. I tried to get back into sewing clothes by tackling the Gable Top by Jennifer Lauren Handmade. A simple t-shirt seamed just the ticket for an easy and quick make, so I traced off a 20/22 size according to my bust measurement  (this was kind of an exercise in body positivity because I had gained 40 lbs in just a few months and I was very depressed about it - I just measured and tried to ignore the number and make it up without judgement). I traced the pattern and cut it out in this cactus cotton jersey I picked up in the clearance section of Hobby Lobby for a few dollar per yard and started sewing. It turned out HUGE in the shoulders - like over an inch too wide on each side - yet the tummy area was too snug for me to want to wear it. I tried to take in the shoulders, but it just distorted the shape with each change I made. I tried to alter it, but it just wasn't working, so I chucked it to the side and stopped trying to sew. Now that I've lost that excess weight and feel better in my body, and with the success of my other makes, I decided to retrace this pattern in the correct size and make it work. This is the wearable muslin from that :)

So this is the Gable Top :) I seriously love all of Jennifer Lauren's patterns. I've been a pattern tester for her in the past and I just love her simple but vintage style design. They are just exactly my aesthetic. This pattern is a 50s style slash neck t-shirt with a fitted body and several sleeve options. The pattern is only 3 pieces and it tells how to get the right neckline height and stabilize the shoulders so they don't stretch out. I went with 3/4-ish length sleeves - this was the longest I could get with the fabric I had left after the previous failure a year before, but this worked just fine for me.
The body fits me snug but not too tight, which is great. I think the back looks just fine :) 
The sleeves were oddly a bit loose for the length. It wasn't drastic, so I just left them, but it's just a little looser than I like for the body being so fitted. A lot of this is the fabric stretch (as I learned on later versions), but something to think of in the future.
I did have to take in the shoulders on this version, which I've just learned is a standard for me. The frame of my shoulders is narrower than the build of my torso, which isn't a big deal - just something I need to account for in all tops. I wound up taking these shoulders in 3/4 inch on each side and they are still a smidge too wide.
I used twill tape to stabilize the shoulder seams, so I used a little loop of it to mark the back like a tag. This is very handy when putting it on because the front and back look exactly the same. The top did come out very long, which I'm sure is in part so it can be tucked in, but still very long for me. I shortened it about 1 inch and still took a 2 inch deep hem and it's a bit long. I don't mind because this way I could easily tuck it in, and when I don't I just scrunch it up on my waist a bit.
So that's my cactus printed Gable Top :) This is the first of many and I honestly struggle to not just whip up all of my knit stash in this pattern. Comfy, flattering, and vintage style. Love it.

Summary:

Fabric: 3 yards cotton spandex cactus print jersey - $12.00

Pattern: Gable Top by Jennifer Lauren Handmade - $10.00

Notions: twill tape, thread - Free

Time: 3 hours

Total Cost: $22.00

Friday, February 9, 2018

Christmas FO: Mint Sequin Shirt

One of the final gifts I made this year was this shirt for my mom. I could never decide what to make for her, so I hemmed and hawed for a while before realizing I should not reinvent the wheel. I've made my mom the Plantain Tee before and she wears it quite often and says it's super comfortable, so I presented her with making another one. I pulled out several pieces of stash fabric for her to choose from (we were just over 1 week from Christmas at this point, lol, so stash was a necessity) and she chose this lovely combo I plan to make up for myself exactly the same (luckily there should be just enough fabric to squeak out another - muahaha!). 
So this is the Plantain by Deer + Doe, which I've made more times than I can name off hand. They recently released an update to the pattern, which included larger sizing and a few other tweaks, but this is the original pattern with my own alterations already added in - I use this pattern as a nice basic block to make other shirts fit better all the time since I've got it right where I like it. Technically this is the Plantain shirt with the Renfrew neckline since the original is just a touch too low and wide for my taste. My mom said the one thing she would like different is to drop the arm scye just a touch as her first version can feel a bit tight there throughout the day - so easy. I just folded the corner down at the arm pit area when cutting. I also had to make a few changes due to the fabric. This front fabric is a rayon jersey that is covered with sequins, making it not as stretchy as it would otherwise be, so I added 5/8" to each side seam before cutting on the front and back pieces. This simple change made all the difference and it fits great now if I do say so myself :)
 Since it really wouldn't be comfortable to cover your entire body in sequins all day long, I used the sequin fabric only on the front piece (thus having more to make myself one) and I cut the back, sleeves, and neck band from a cream colored cotton interlock (a very lucky find at a thrift store). Now that my mom has worn this a few times, I've learned that I should've done something to the sleeve or the side seam below the arm to protect from the sequins. She says it's not a big thing, and it would happen with an sequin shirt, but throughout the day your arms can get a bit rubbed from the sequins - totally understandable and I can't believe I didn't think of that before because I have a few rtw shirts that do the same thing. When I made this for myself I will either make the sleeves longer (which will cause the seam line on the sleeve to pill quite a lot :/) or maybe piece a strip of the cream colored fabric onto the side of the bodice under the arm scye, angling out to nothing at the hem. I'll have to play with it, but I'll definitely do something along those lines. My moms sleeve has pilled from the friction already, but sadly it's kind of unavoidable.
I really love this interlock fabric. This stuff was a major score and I got several colors at the time just thinking it would be fine for muslins, but I've used this stuff a ton and wear it all the time. I'll be so sad when it's gone, lol. I love it because it's beefy enough to hide lumps and bumps as well as not being sheer at all, but it's also drapey enough to look nice in a design like this one. Also it's comfy and washes great. It's basically magical fabric. 
And here's a closer look at that lovely sequin fabric :) I snagged the last bit of this at The Sewing Studio sale a few years ago - it was a garment factory remnant and the entire thing is covered in very cool sequins. The sequins seem like normal circles at first glance, but they are actually a strip of 4 circles all together in a bar shape. They are stacked on top of one another to make the floral design and then stitched down with clear thread. Even the cream colored areas are sequins - so cool. I was a bit concerned about sewing through this stuff at first, but my fears quickly subsided. It's funny - I always read blogs about how people have to pick all the sequins out of the seam allowance before sewing them, yet the two times I've sewn with sequin fabric it was absolutely fine and I had to do no such thing. Maybe it's because mine were knit fabrics? I don't know, but these lay perfectly fine at the side seams and have given no trouble on the insides either. I even hemmed it as normal with woolly nylon in the bobbin and a twin needle. No special equipment or techniques needed - yay!
And since we were taking pictures, we had to add a few fun shots, lol. Can you tell we're related? Wait, how about in the next photo?
Yep, I definitely came from her, lol. These pictures also show how nicely this drapes away from the body below the bust - definitely our family favorite fit.
And she had to do the blogger pose, lol. This shirt is another fav and Kelly has already asked me for one.  I'm just glad I was able to make another special piece for my awesome mama. Isn't she cute? I hope she gets to wear it for a good long time. Also you will probably be seeing another iteration of this shirt sometime in the future when I make it for myself :)

Summary:
Fabric: front piece from cream rayon spandex knit with floral mint sequins all over, 1 yard cream cotton interlock (thrifted)
Pattern: Deer + Doe Plantain with Sewaholic Renfrew neckline
Notions: knit stay tape, thread
Time: 3 hours

Tuesday, January 30, 2018

Christmas FO: The QVC Shirt

Back in early November or thereabouts, my mom bought a shirt off of  QVC that she and my sister, Kelly, immediately fell in love with. She ordered it in 2 colors for herself, but my sister wanted one as well and asked if I could copy it for her Christmas gift. It was a fairly simple t-shirt design, so I knew it would be simple to copy, so I said yes :) The glory of this project was that the shirt already fit great, so I didn't have to do much in the way of alterations.
Since this is technically a wearable muslin, we picked fabric from my stash that had a similar body as the original. The inspiration shirt was a medium weight bamboo rayon, so the closest thing I had that was not too precious was this cotton interlock. The body is similar and Kelly liked the color, so I went with that. Not having matching thread in my stash, I used a medium gray thread and it blends in wonderfully.
The shirt has princess seams on the front and back and the area below the bust flares slightly on each piece to drape away from the body. After sewing the whole thing together I did have Kelly try it on before hemming just to see where she wanted the sleeves to hit, etc. We went with this 3/4 length just below the elbow. I also copied the neckline finish where a band is applied and then folded completely to the inside and then top stitched with a double needle. This is one of my favorite neckline finishes now and I've used it on all of my boat neck shirts as it's so nice and clean looking but still sturdy.
The fabric is prone to wrinkle (being cotton), but these pictures were taken after wearing it at work all day, so not too bad. We kept the slight high-lo hem of the original shirt that gave good butt coverage, which Kelly liked. The shirt is almost tunic length but not quite.
The flare around the hips creates a nice "skirt" if you will. It's pretty wide when you pull the hem out all the way, but with the drape of the fabric it still hangs nicely.
So that's Kelly's Christmas shirt - the QVC shirt as I call it. I included the pattern I made of the shirt as part of her gift because she wants to learn to sew t-shirts too, so we should be making more of these some time. Kelly wear this quite often - she says it's very comfy :) It needs a few tweaks on the next version (like a full bust adjustment of some kind), but it certainly fits as well as the original shirt and that's all we were really aiming for with this. I'm just glad she gets some wear out of this gift.

Summary:
Fabric: 2.5 yards of taupe cotton interlock knit (thrifted)
Pattern: Drafted from a rtw shirt from QVC
Notions: grey thread, gray woolly nylon thread
Time: 3 hours

Monday, July 24, 2017

FO: Striped Renfrew Hack

Back in my Outfit Along Planning post, I mentioned how I wanted to make a boat neck Lark Tee out of a black and white striped knit in my stash. After my wearble muslin of the Lark turned out to be a looser fit then I originally hoped, I had a choice to make. Do I do more work to that pattern in hopes of eventually getting a shirt I like, or do I decide not to reinvent the wheel and just use a similar pattern that I already know fits me well? Can you tell where I'm going with this? Since I would have to alter the Lark neckline anyway to sit how I like, I might as well just do that same alteration to a well fitting pattern (so said my logic, anyway). So I grabbed my trusty Renfrew pattern and got to work.
This is the Renfrew by Sewaholic patterns, but with an altered neck. I used my standard size 16 top, but I tried drafting a slash neckline by following this tutorial by Heather B on Pattern Review. I understood it in theory, but I when it came time to draft the changes I just couldn't see adding extra ease to the bust and neckline. I have a hollow chest and always have to remove excess fabric from this area, so I decided to just use that ease I would normally have removed and call it good. Yeah... I shouldn't have done that. I did the drafting, spent all the time cutting out and stripe matching my lovely knit here, and sewed the neckline first as I usually do when making knit tops. I could barely get my head in the whole. Whoops! I mean, I could squeeze it in, but the tight side neckline plus how high up it came on my neck made the neckline look so closed up that I felt ridiculous. At this point I had nothing to lose, so I just marked where I wanted the neckline to hit, drew the scoop by hand, added 1/2" seam allowance and chopped off the unfortunate slash neck issue. I measured around my new neck hole (25") and cut out a neckband that was 21" long. I applied the neckband in the usual way (right sides together, lightning bolt stitch 1/2" seam allowance, trim down excess), then instead of the methods I usually go with (from the Renfrew or the Plantain by Deer + Doe) I folded the other side of the band in half and then folded it down into the shirt. I top stitched this with a twin needle and used woolly nylon thread in the bobbin. I absolutely LOVE this neckline! You would think it would be bulky with 3 layers of fabric folded right there, but the top stitching really flattens things out. I really dislike not having a neckband on a knit shirt (like on my Lark Tee - that neckline is just folded down and stitched), and having a traditional neckband out on display around a boat neck would just look silly, so having it tucked under like this makes it a little more classy. I highly recommend it :) This was an extremely easy change to make, and the resulting neckline is the perfect size for me. All ready to wear boat neck tops show my bra and garments. ALL.OF.THEM. But this one covers everything up very nicely. I'm hooked, folks!
After my neckline hack, I sewed this up just like you're supposed to. This is my first time using the 3/4 sleeve and it turned out to be the perfect length. I did tighten up the sleeve hem area since I originally planned this to be worn under a cardigan so I wanted the sleeve hems to stay in place. I was very careful with my stripe matching, and this really paid off. I know you can't see it because I forgot to take a picture, but my side seams are matched beautifully. Also check out my stripe matching on the sleeve in that first photo. Oh yeah! lol I'm not very good at pattern matching yet and it always feels like a tedious chore, so I'm pretty thrilled when it turns out how I hoped.
Another fantastic benefit of having a living person take your blog photos - they can smooth out the back of your shirt and get all your stripe lined up. Thanks, babe! You can also see my stripe matching across the upper back at the sleeves. I'm pretty proud of that, I must say. I also made sure to hem this along one stripe. Usually my hems would be slightly curved, but I wanted to keep everything level for aesthetics. I'm pleased with the result. My fabric came from Walmart of all places! After reading on Lauren's Blog that she found some decent knits there on the cheap I couldn't resist checking it out myself. I came away with 3 fabrics including 3 yards of this one. It's 80% polyester, 17% rayon, 3% spandex, which would normally put me off but this had a nice medium weight to it. I find that thinner poly knits cling in unflattering ways on me so I avoid them, but this is super springy and is thick enough to hide bumps but not so think you can't wear it in Florida. Also the stripes are yarn dyed, so everything was wonderfully on grain. I'm really surprised at how much I like this fabric :) The recovery is fantastic, and even though it's a snug fit I don't feel self conscious. Also in spite of it being a horizontal stripe, I think this shirt is quite flattering because it hugs my narrowest areas.
With all my on-the-fly neckline slicing, I did end up with the stripes slightly uneven at the center front of all places. Thankfully I was able to fudge that area when I top stitched the neckband and I couldn't be happier with how that turned out. Let's all just take a minute to appreciate that neckline. Horizontal just at the base of the neck, no bra show on the sides, discreetly top stitched. *Ah* It's a beautiful thing. I seriously want to sew a million shirts with this neckline now. Prepare yourselves.
So the unfortunate part of this shirt is that I did not like it with my other pieces for the Outfit Along (womp womp). After finishing this top I excitedly put on my skirt and sweater only to just not feel right with everything together. Maybe if this shirt was a scoop neck it wouldn't be so bad to me, but mostly I think it's that the bold stripe looks odd against the girly lace pattern in the sweater. Also the V neckline on the sweater goes so deep that it just feels like too much stripe on display. Maybe if it was a scoop neck I wouldn't be so put off by the combination, but as it is now I just don't see me wearing all 3 pieces together. I do love this top with the skirt though, so that's a partial win :) Thankfully I had other knits in my stash that matched the sweater style better, so the Outfit Along entry was saved. So this shirt is a nice bonus to the challenge :)  I love this shirt and I still have plenty of this fabric left for future projects. Hooray!

Summary:
Fabric: 1.1 yards of black and white stripe poly rayon knit - $4.00
Pattern: Renfrew by Sewaholic
Notions: black thread - $0.50, woolly nylon thread - $0.10
Time: 4 hours
Total Cost: $ 4.60